Pixelmon Reforged 9.1.10 server for Minecraft 1.16.5
play.pokemc.com
Minecraft Version: 1.16.5
Pixelmon Reforged: 9.1.10
Oh the Biomes You'll Go!: 1.3.6
Nature's Compass: 1.9.1
Pixelmon Reforged: 9.1.10
Oh the Biomes You'll Go!: 1.3.6
Nature's Compass: 1.9.1
Server IP: play.pokemc.com
(Loading...)
×


⬍

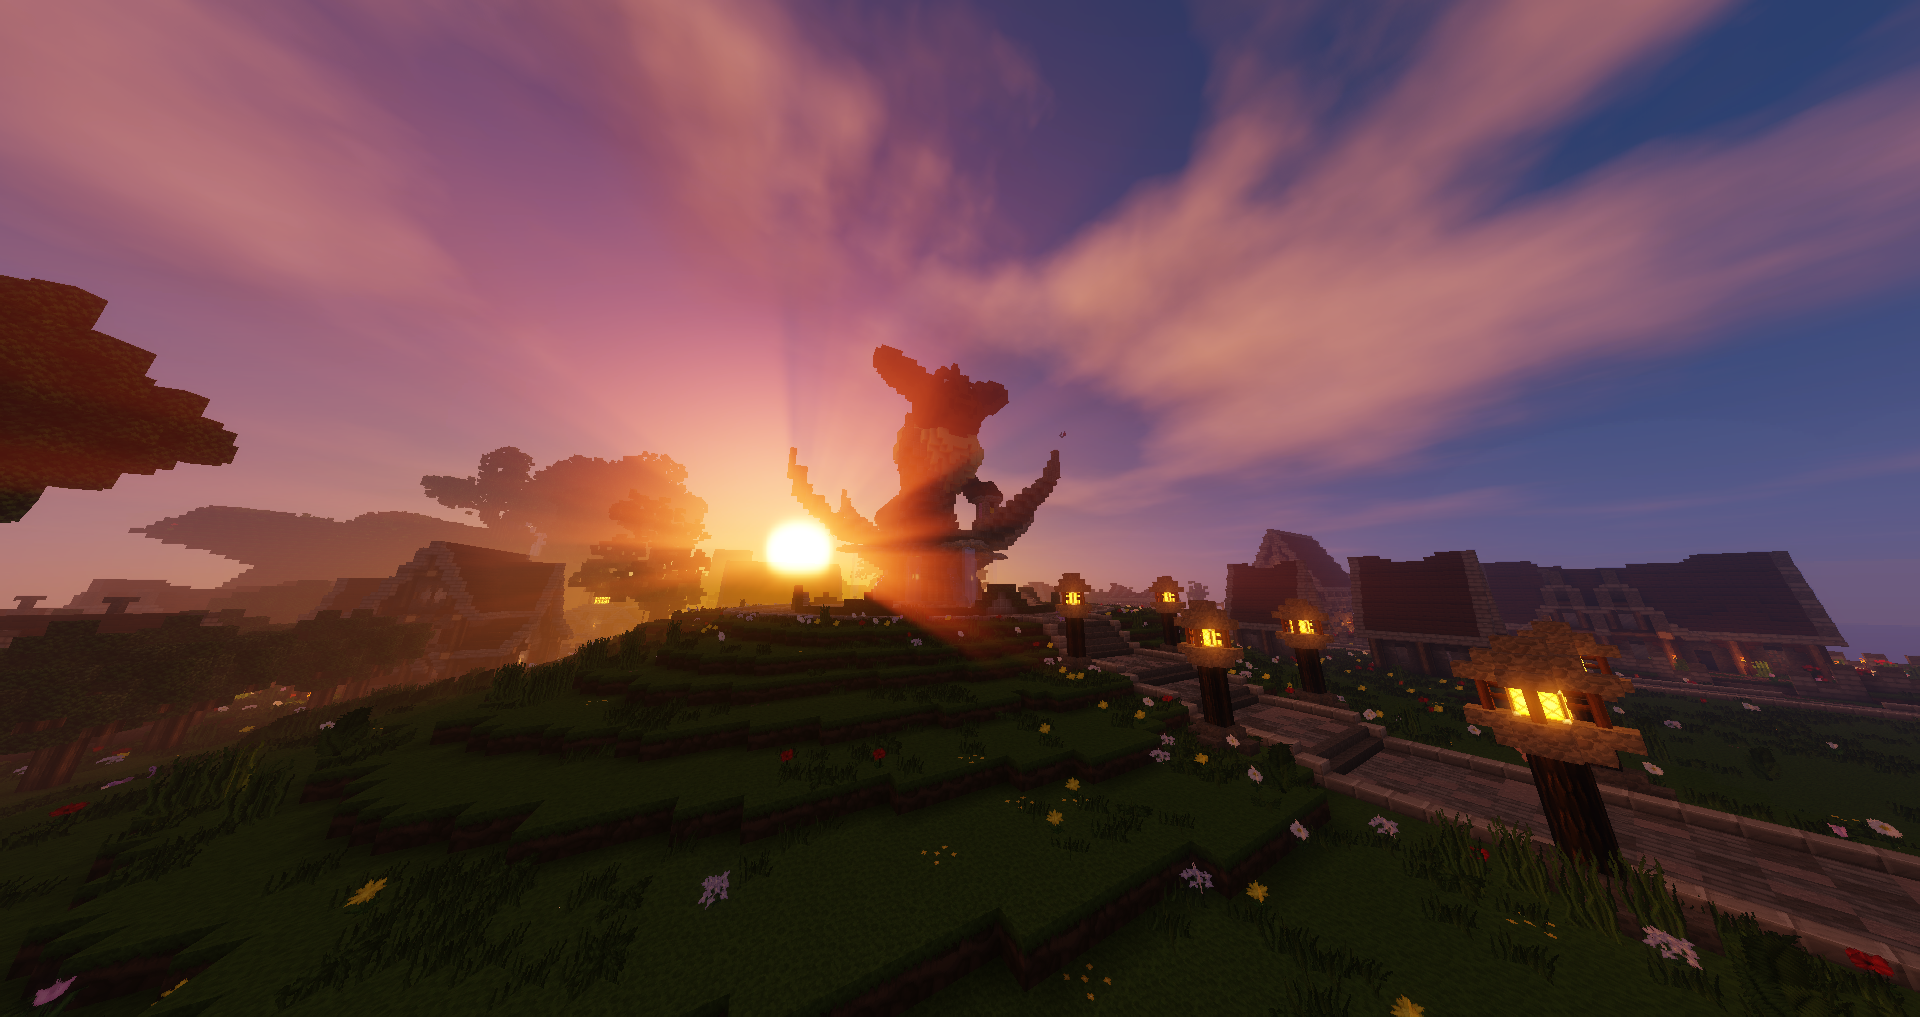
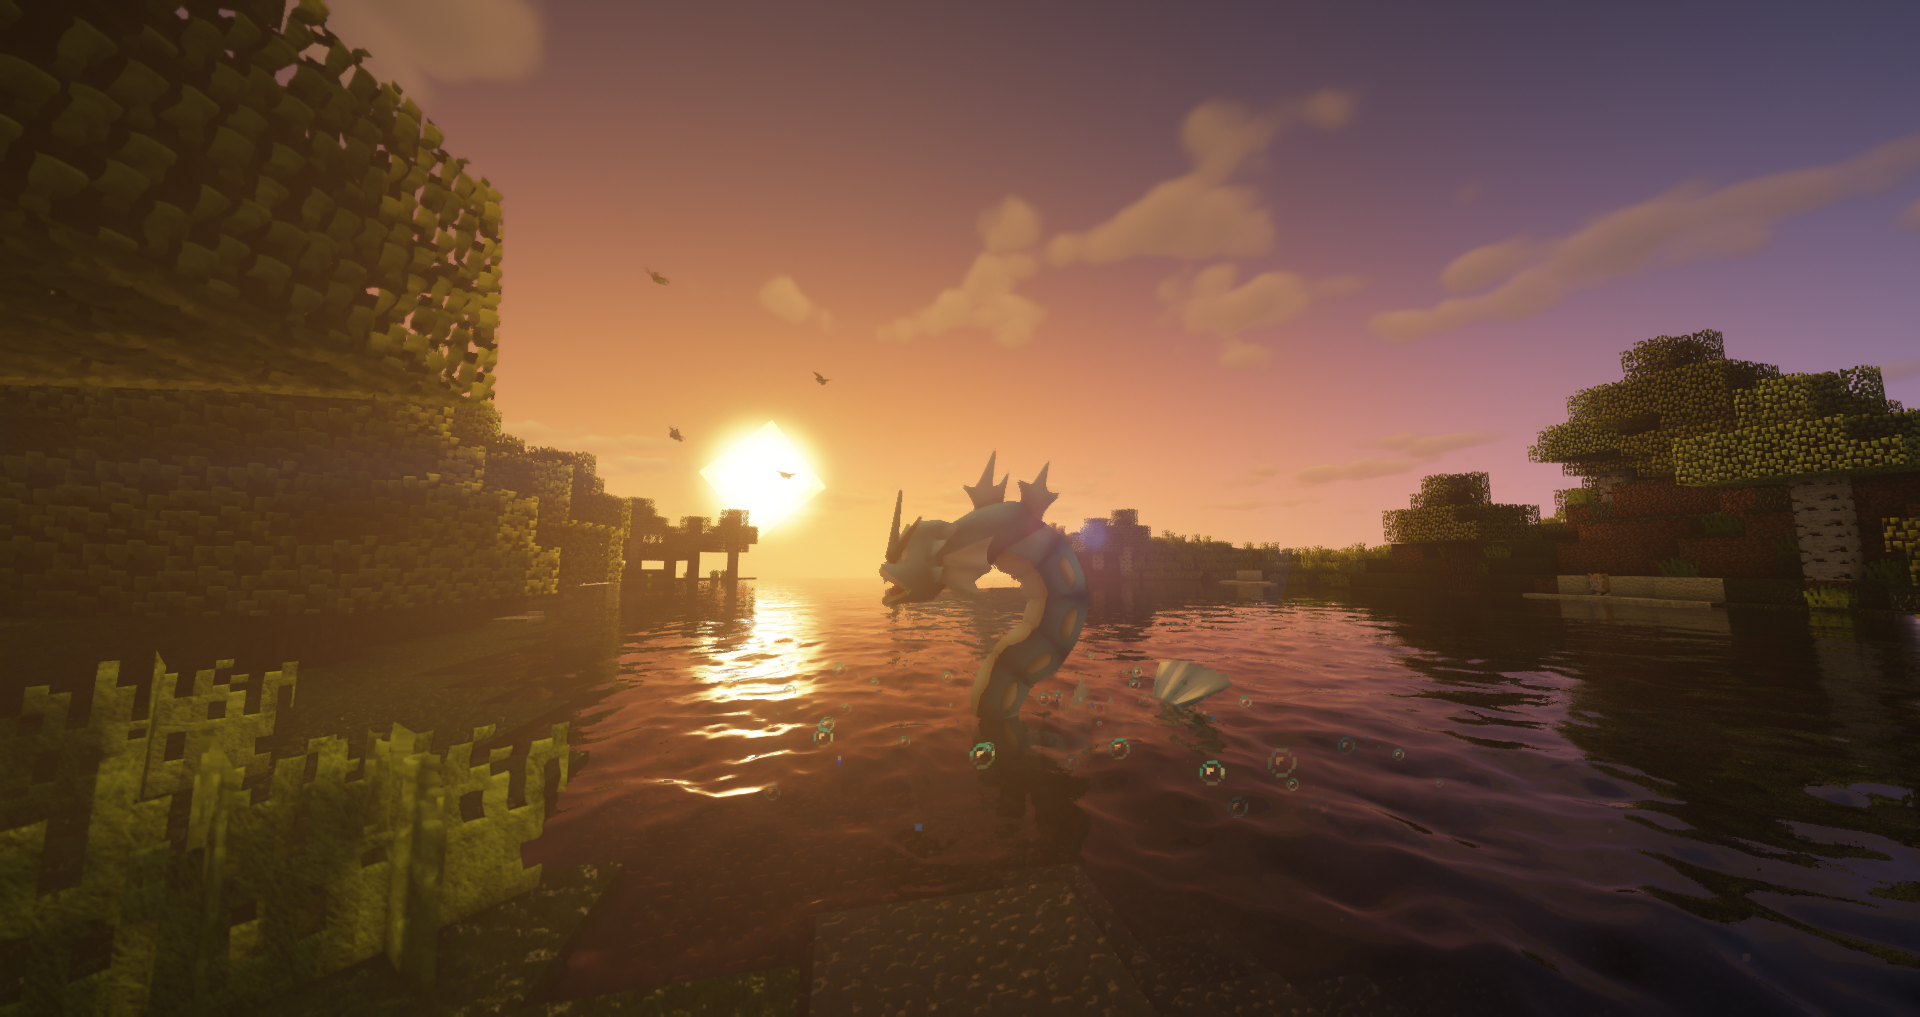
Welcome to PokeMC!
Survival Minecraft
Additionally, we support a healthy economy that will NEVER be pay to win. Earn your riches by catching Pokémon, running a player shop, breeding competitive Pokémon, running your own gym, and many more possibilities!
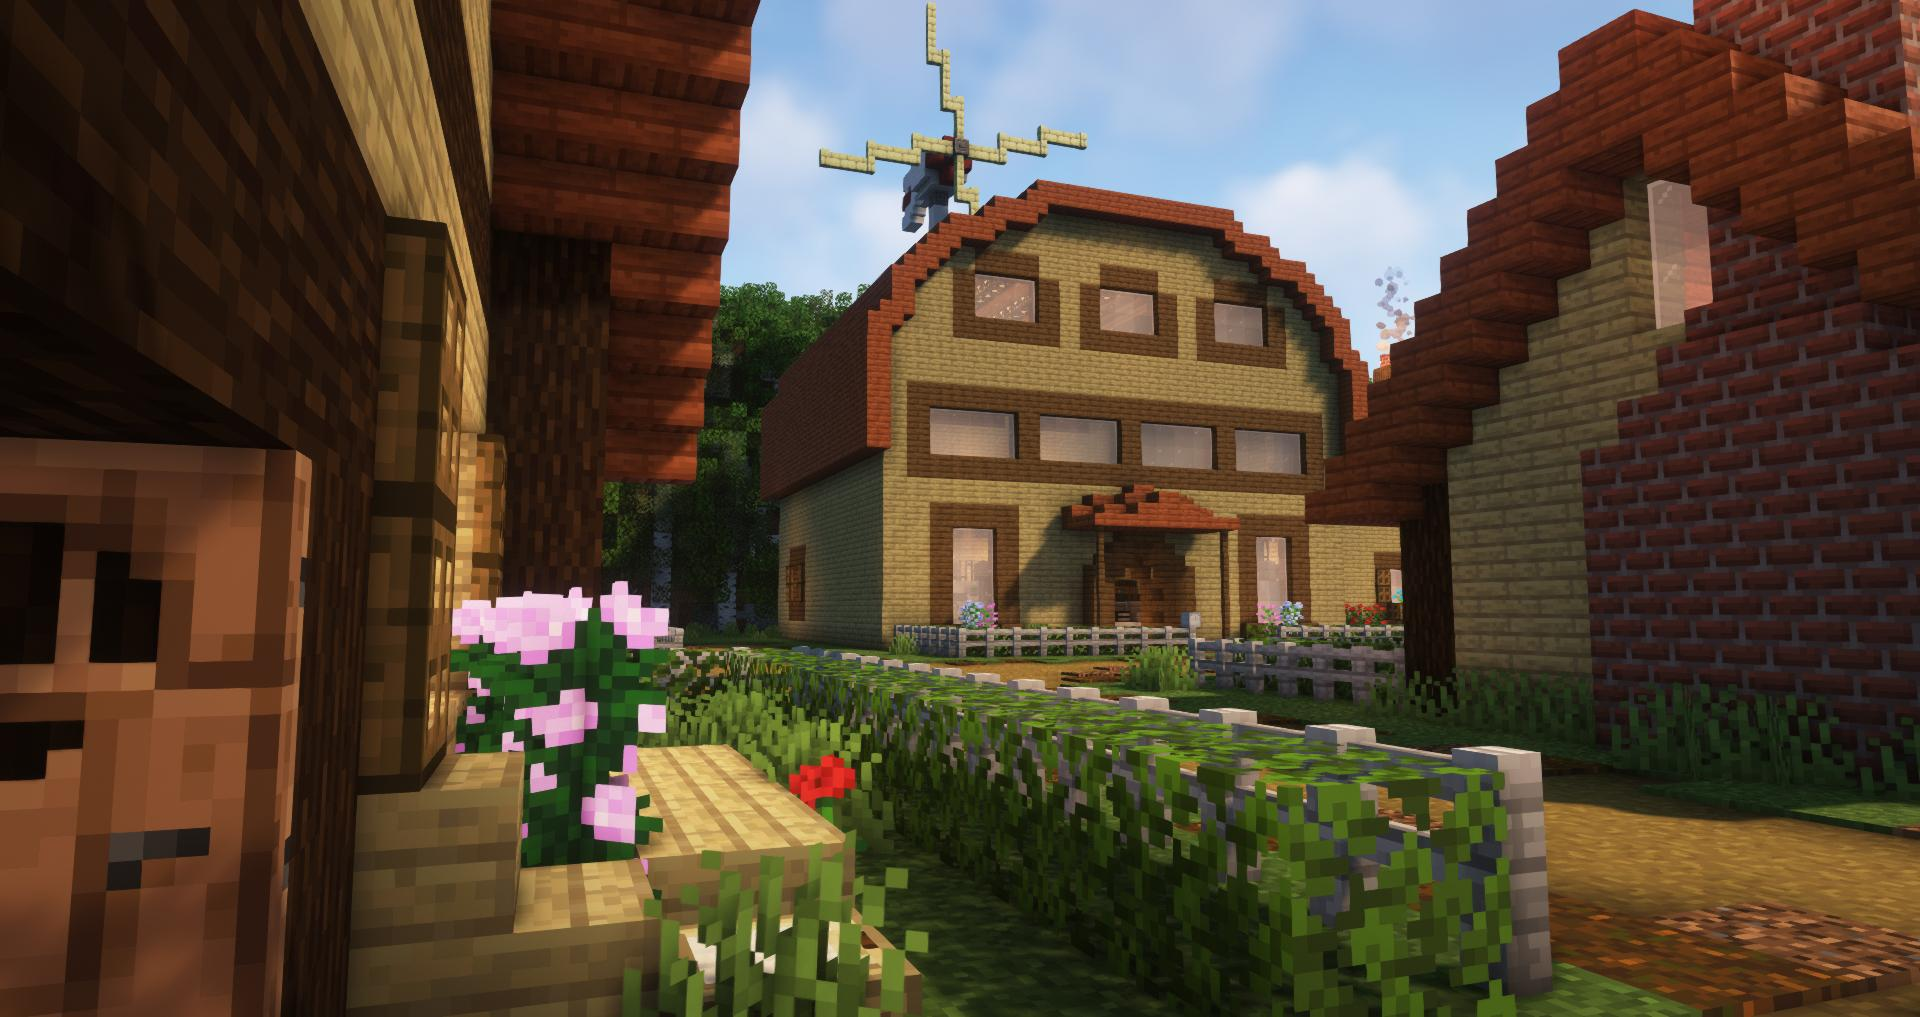
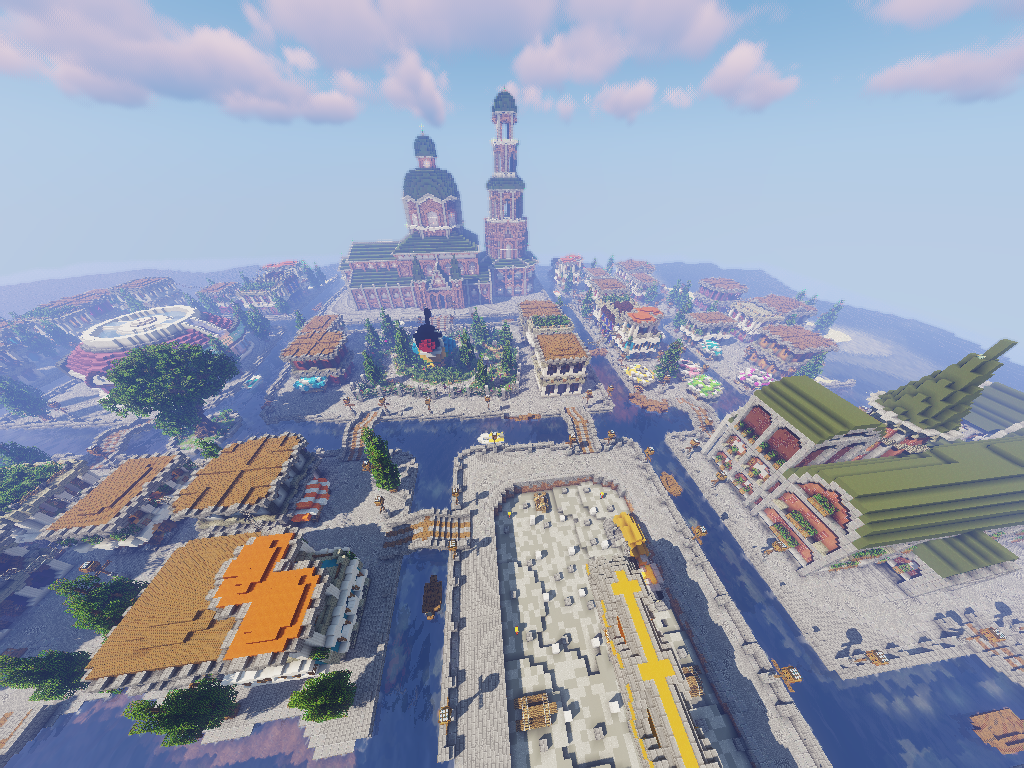
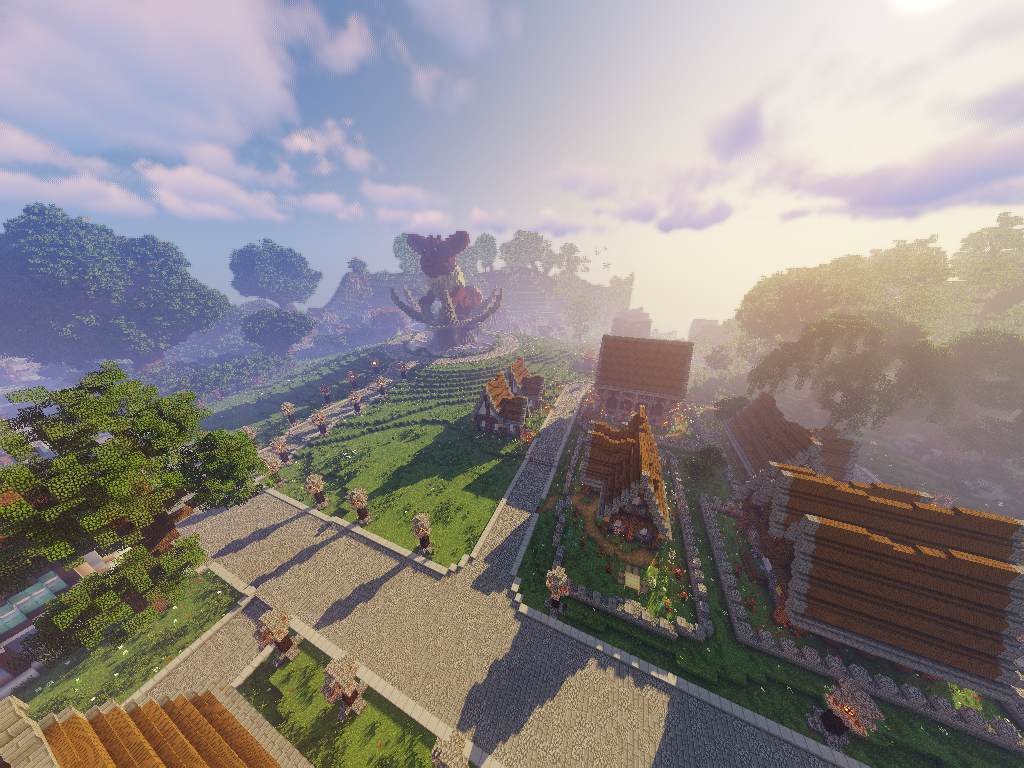
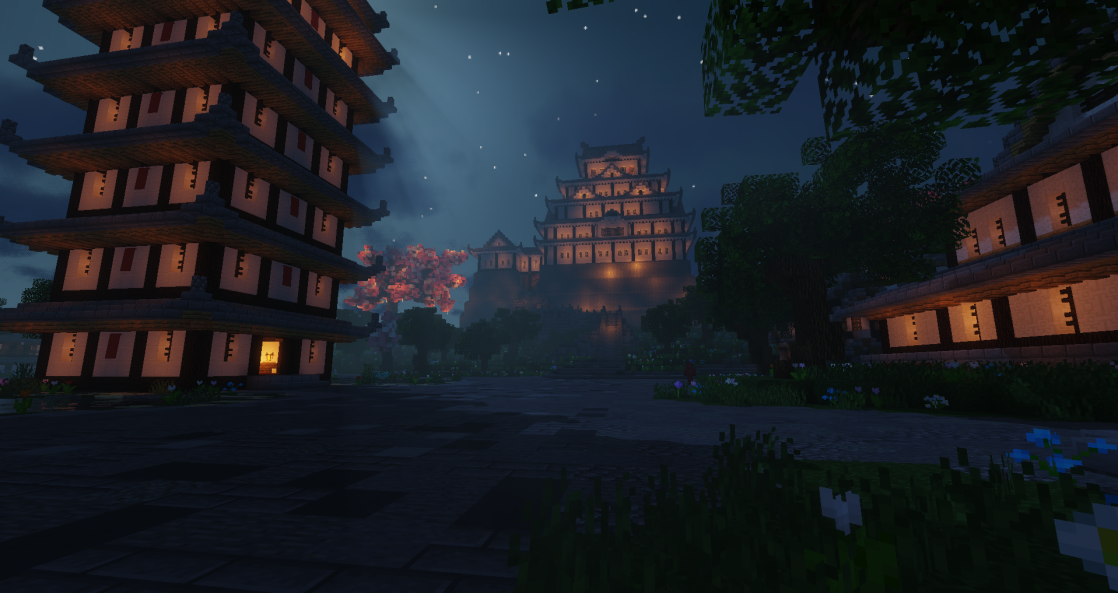
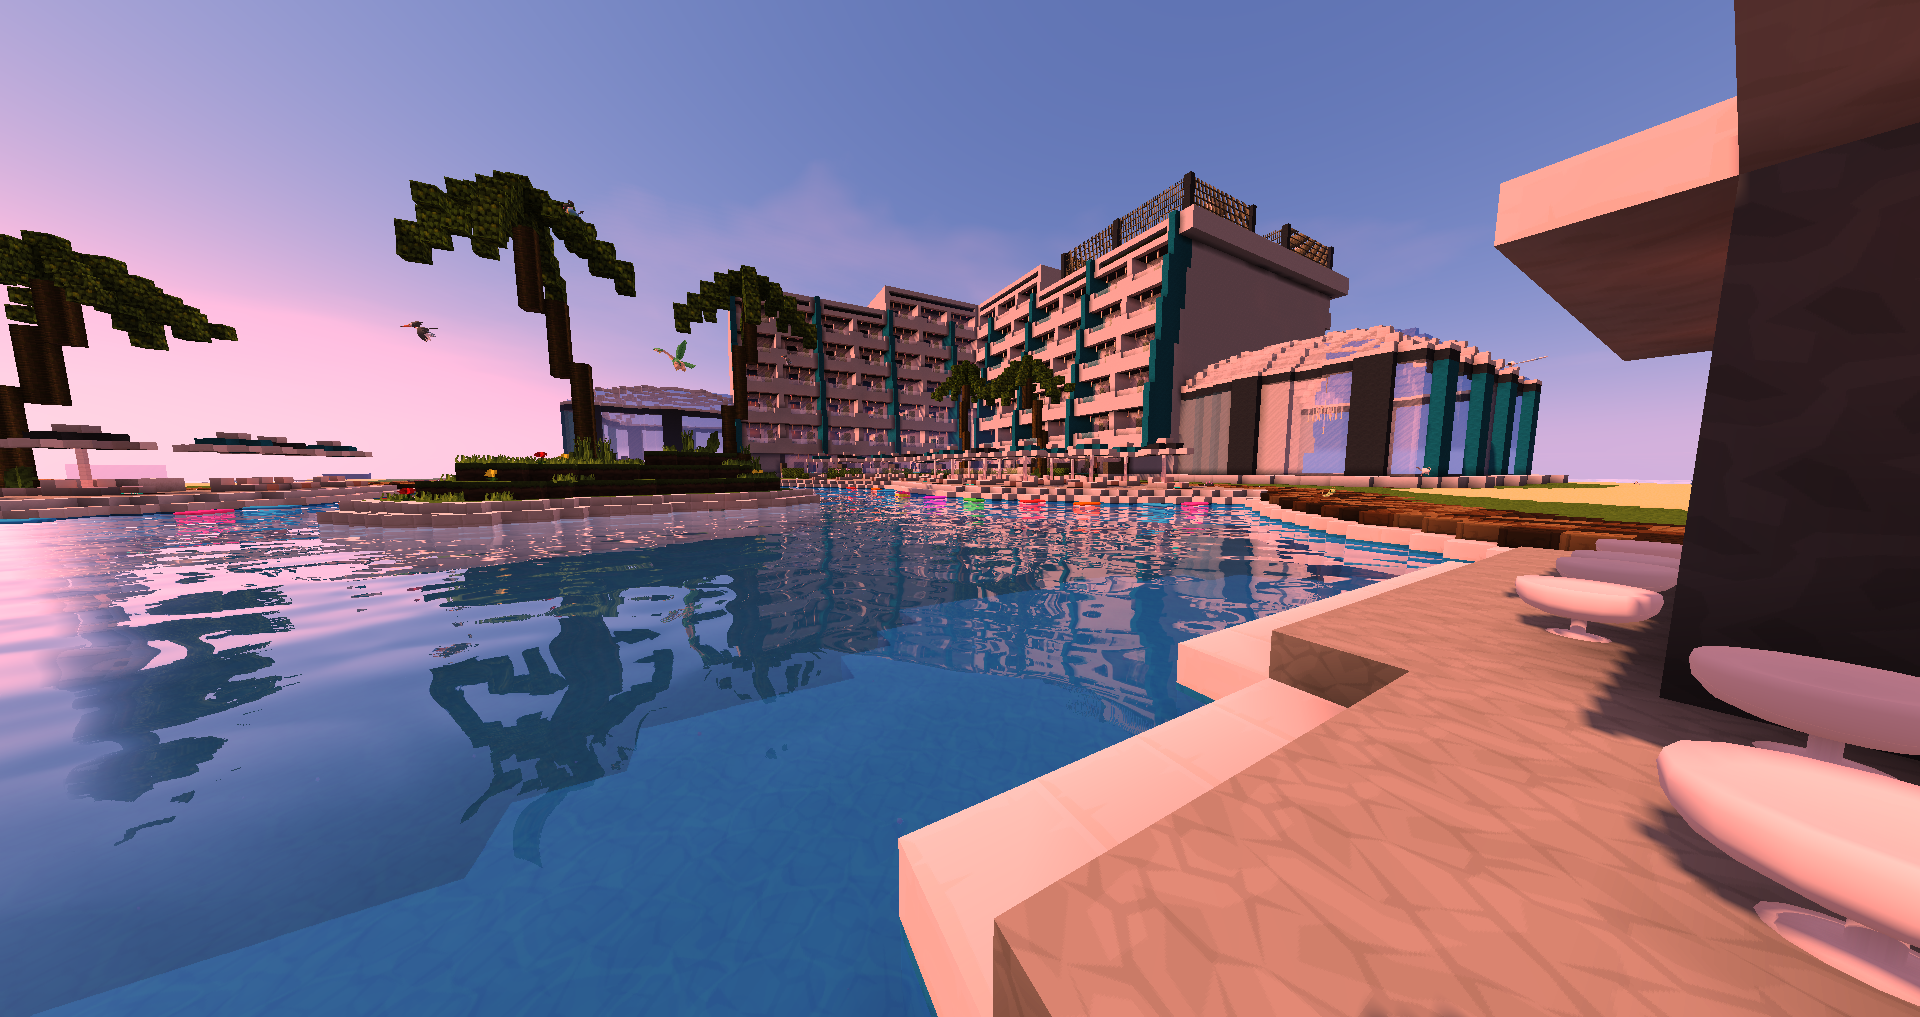
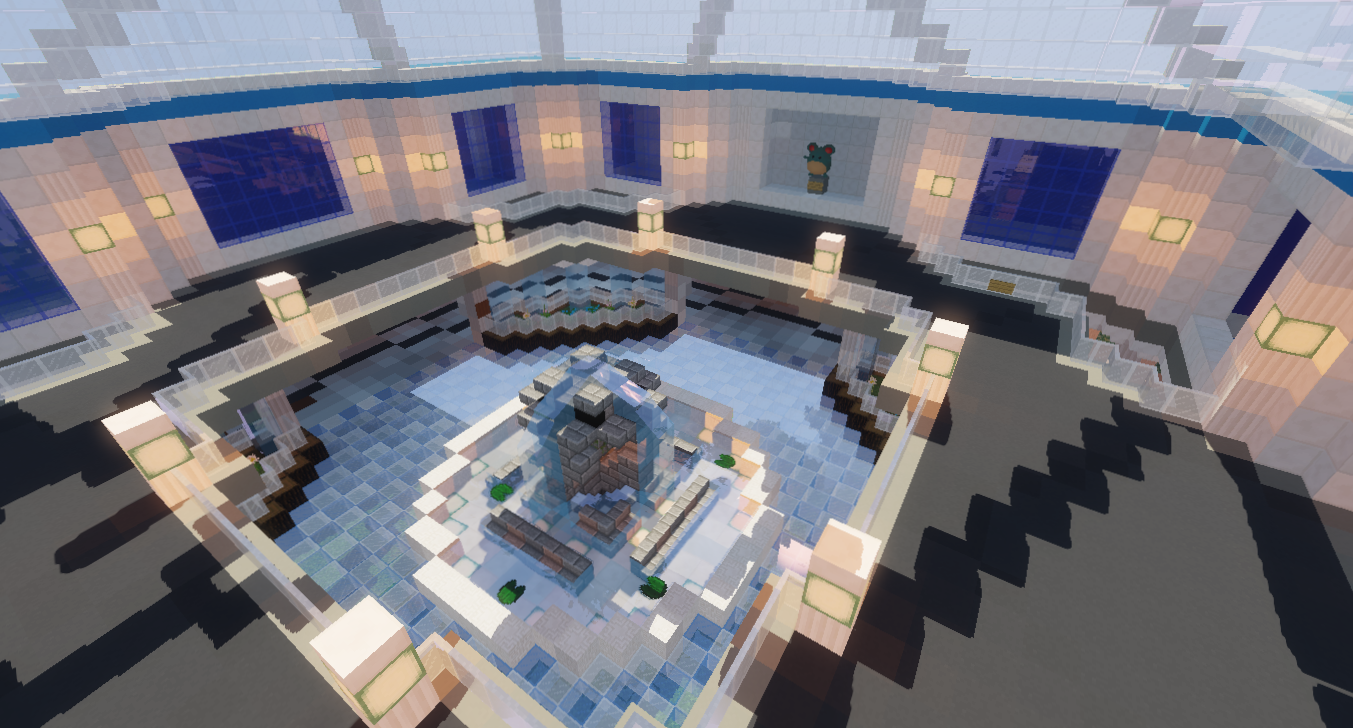
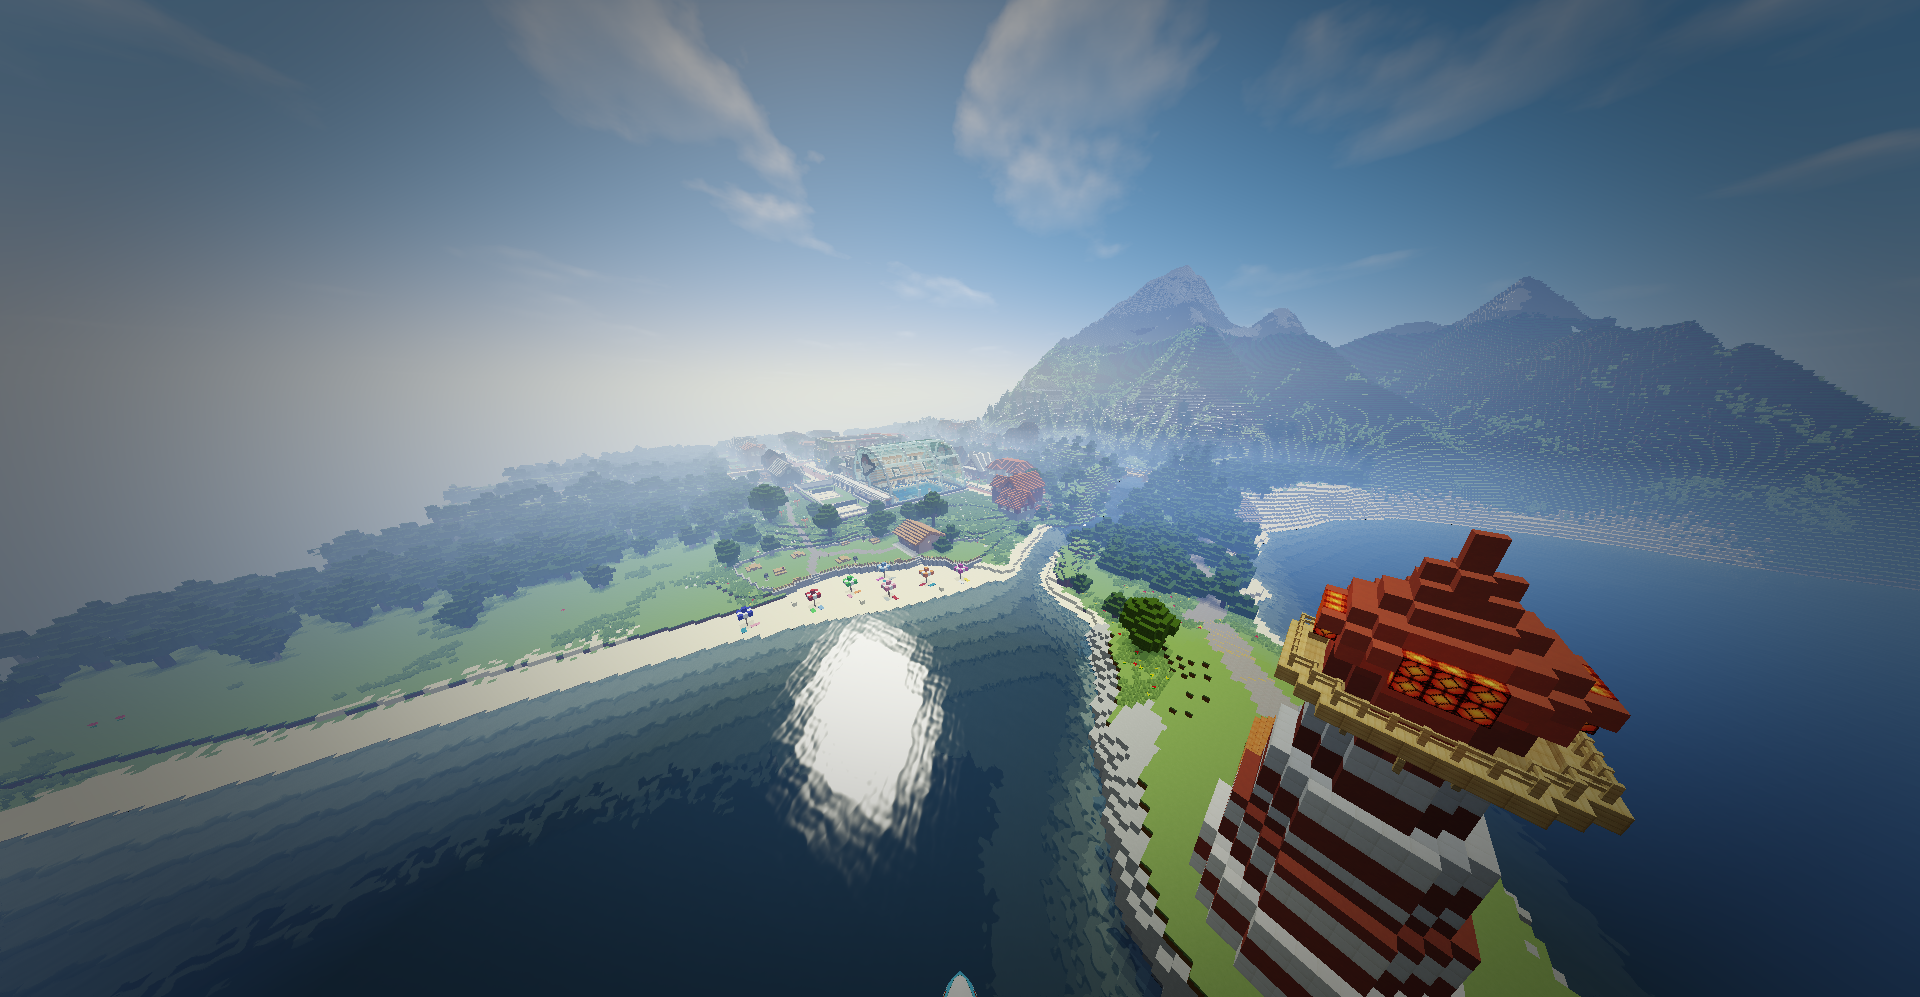
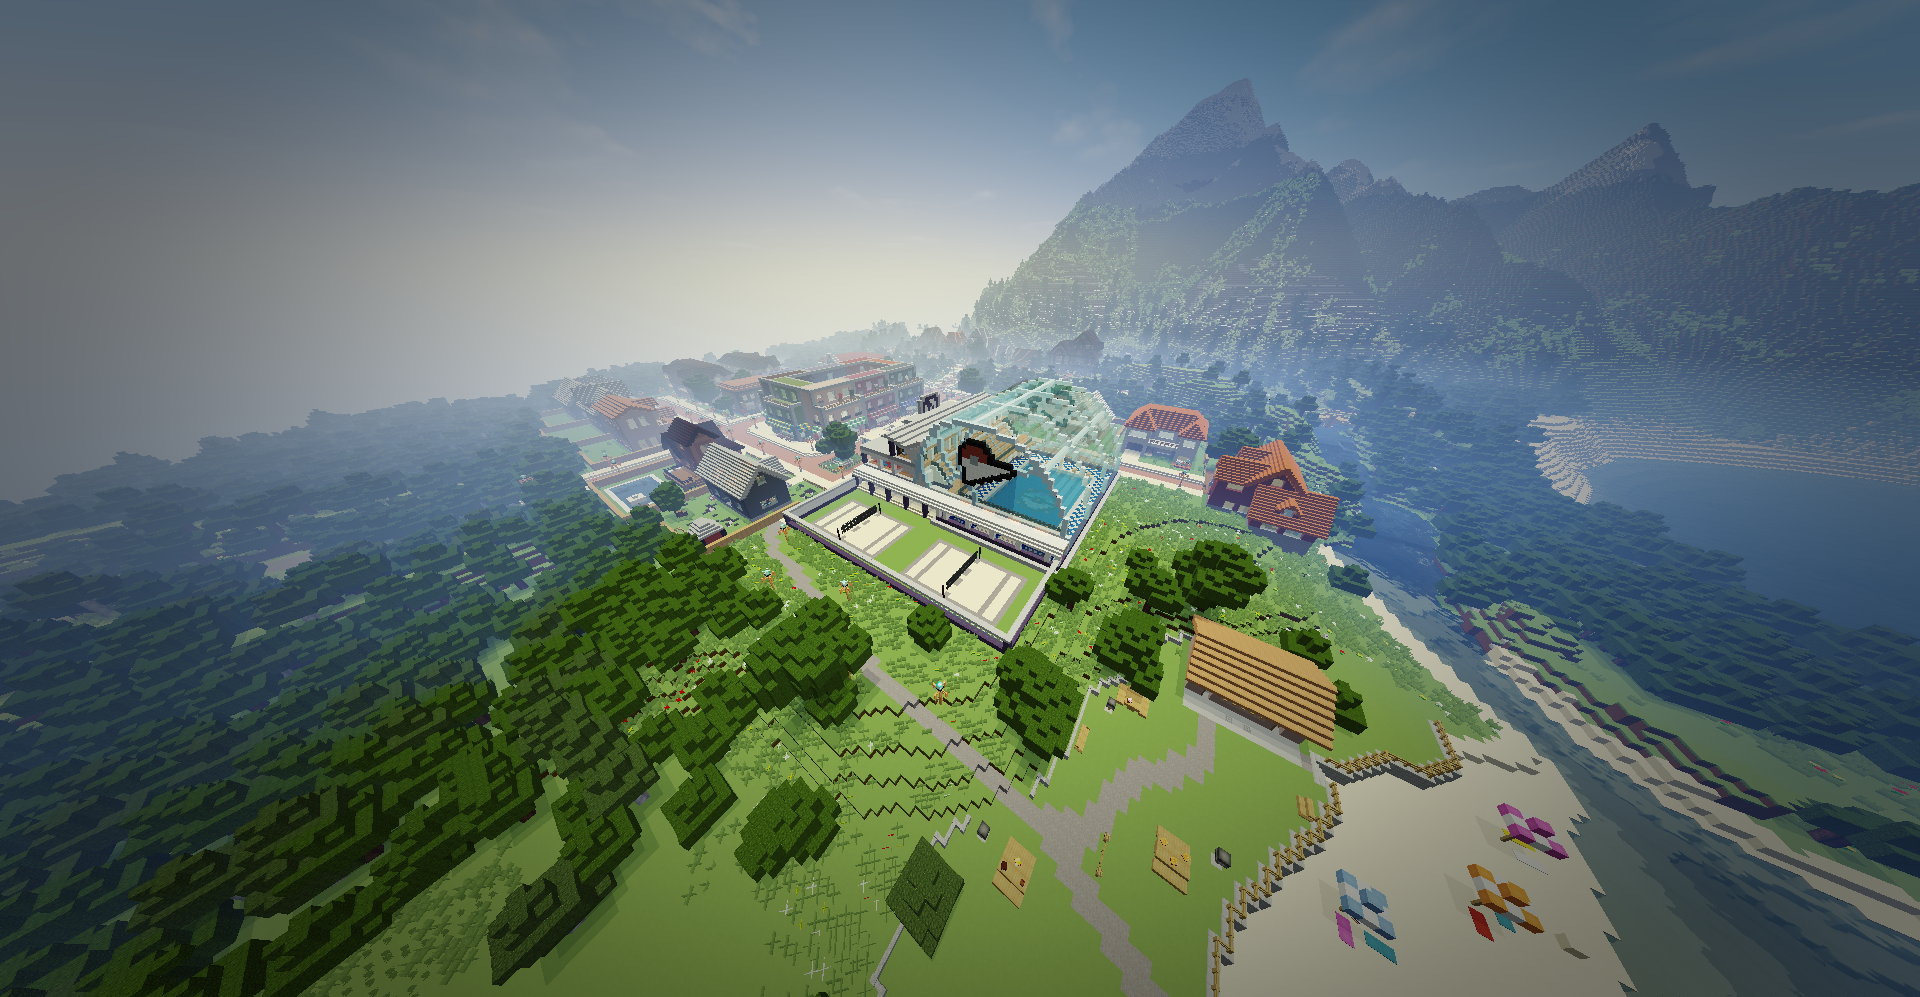
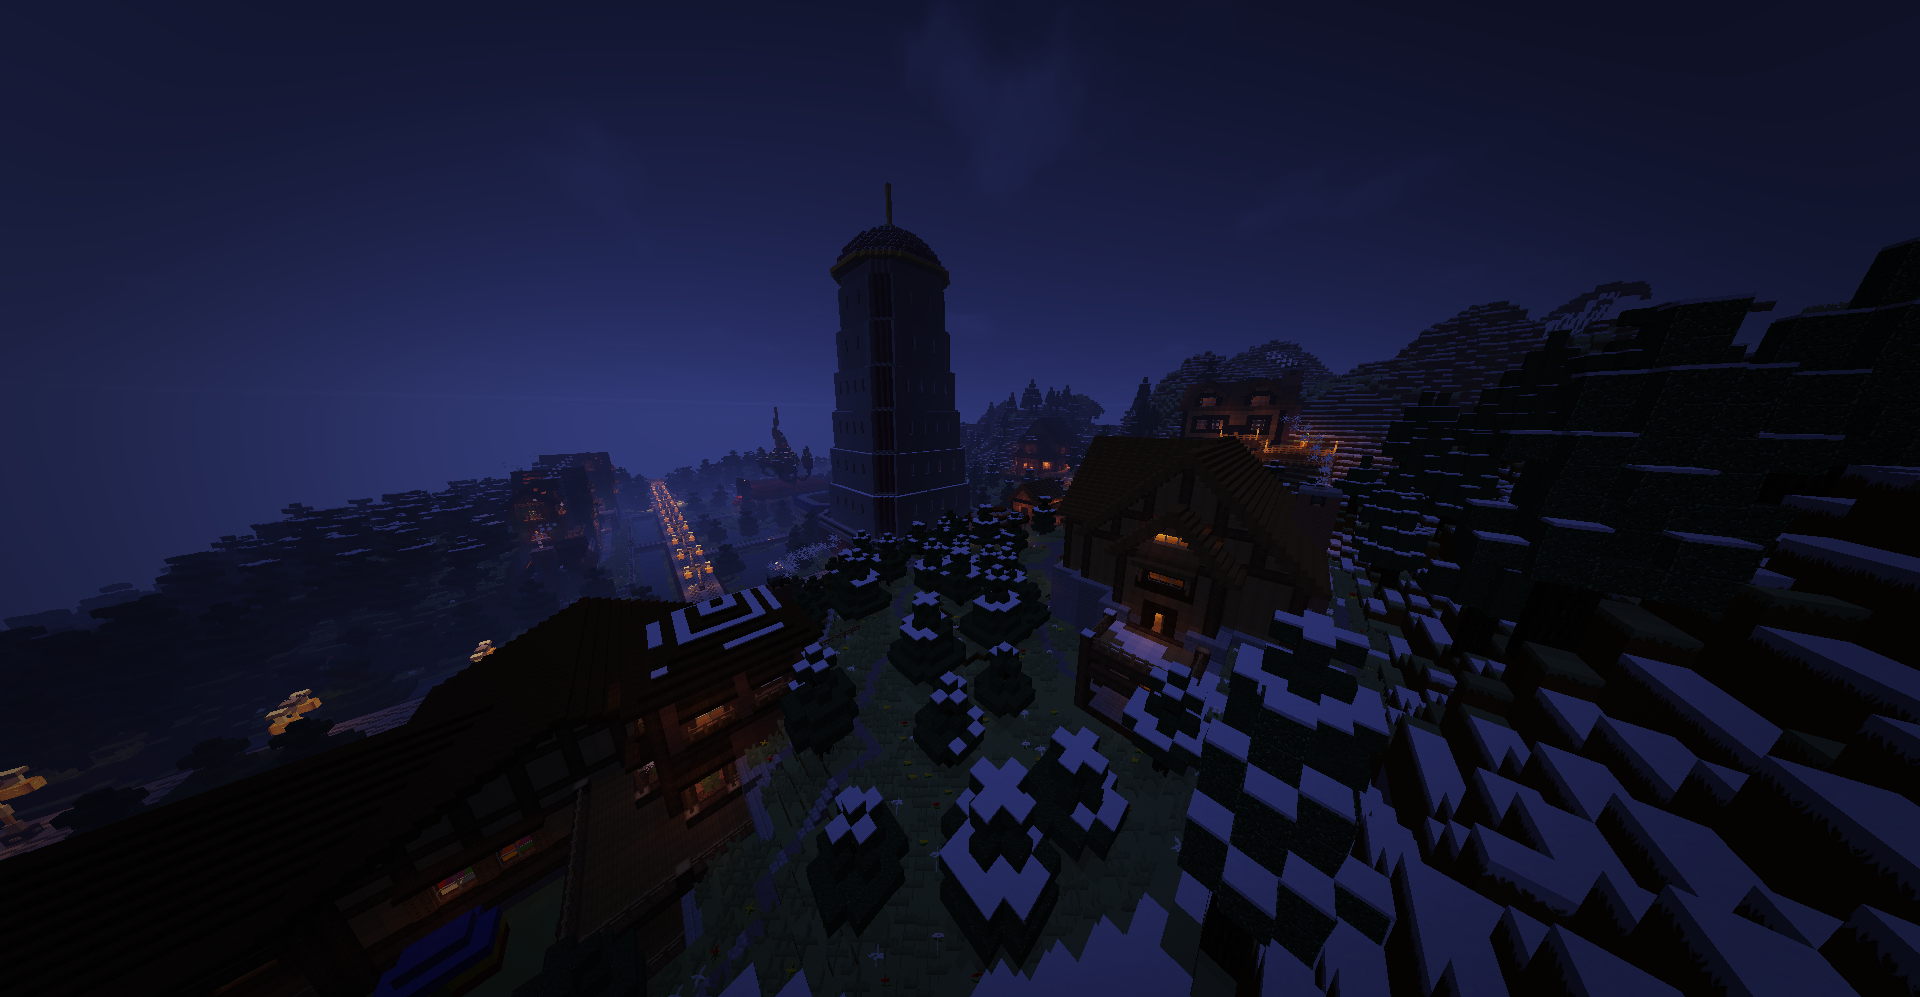
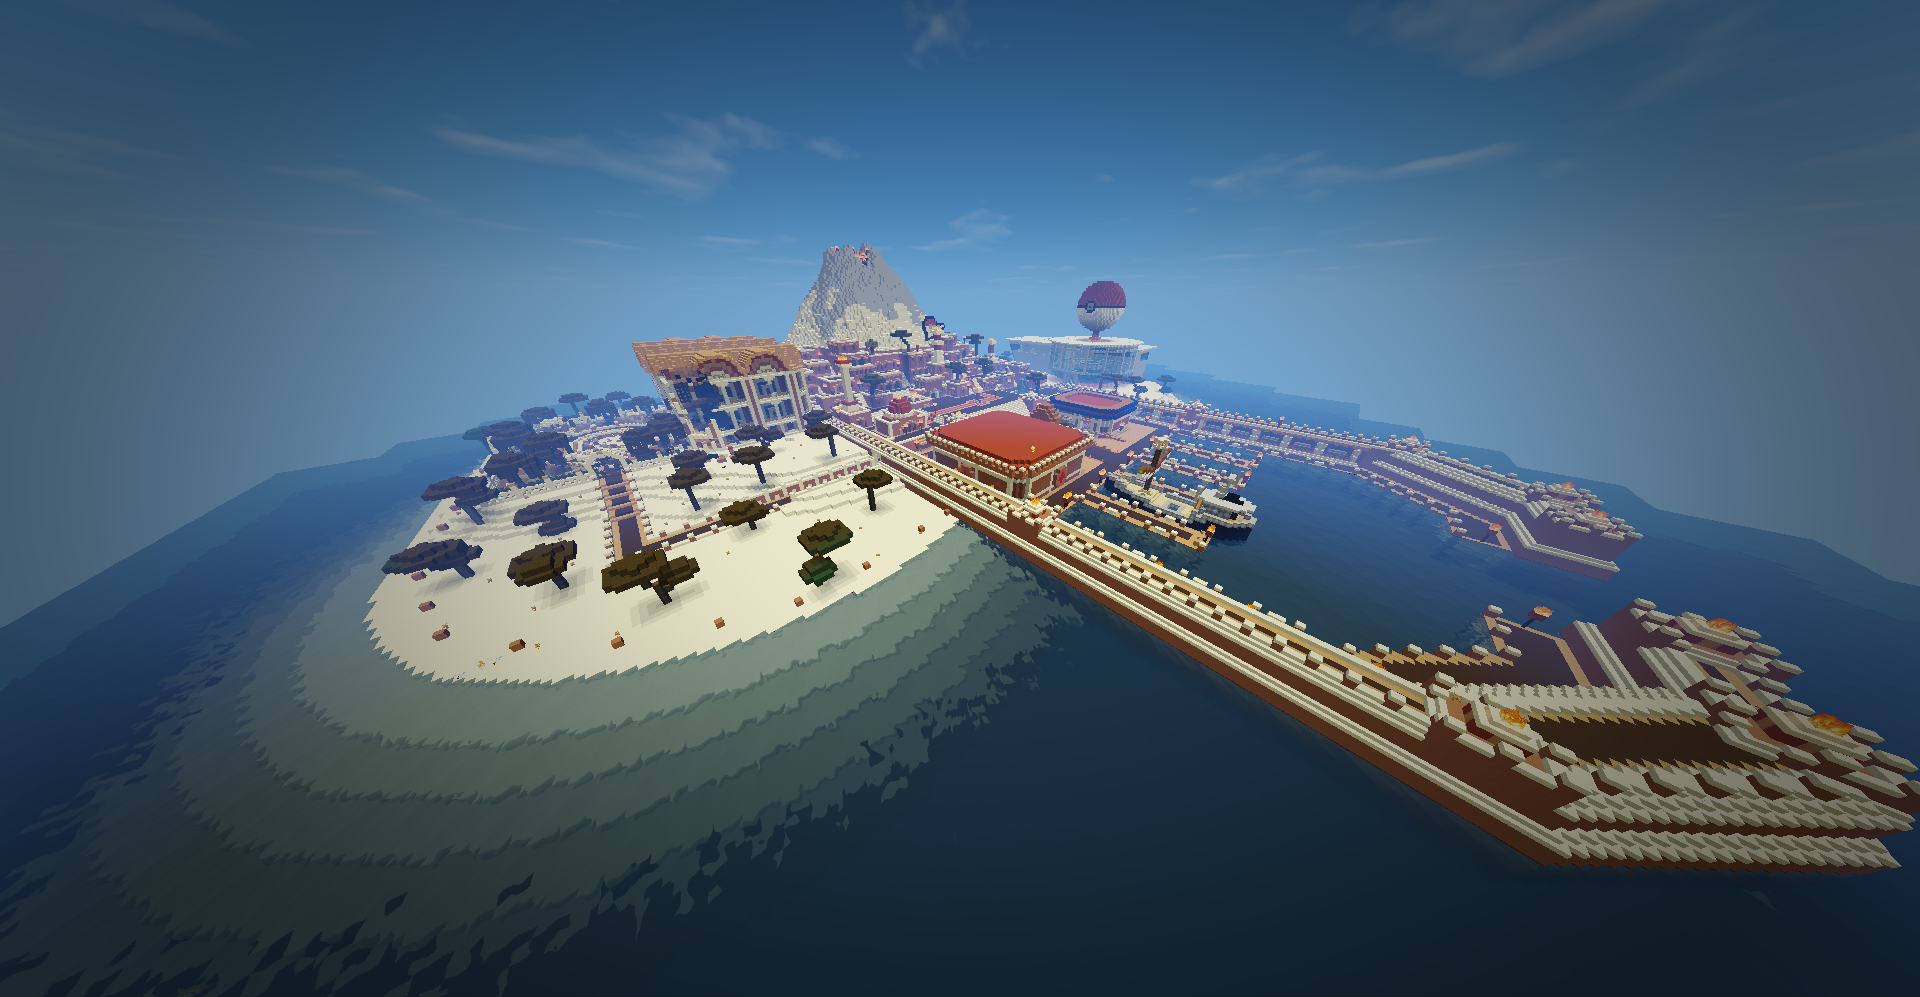
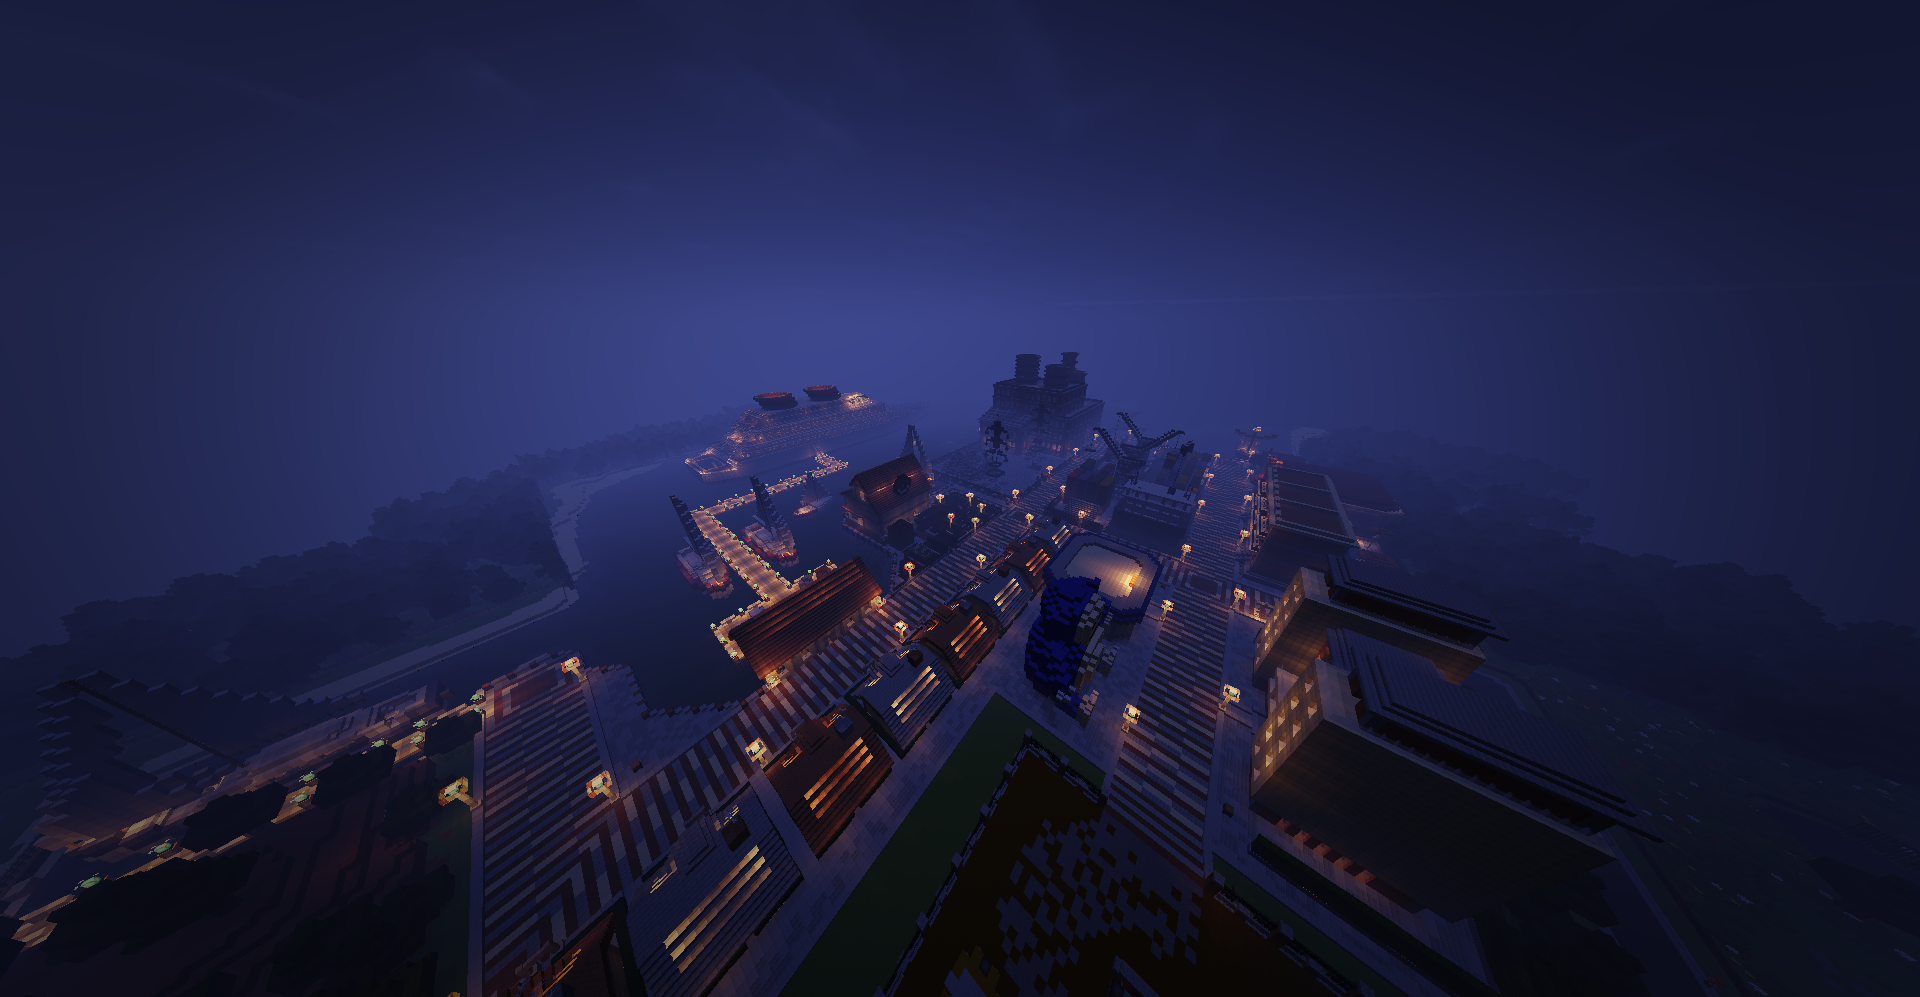
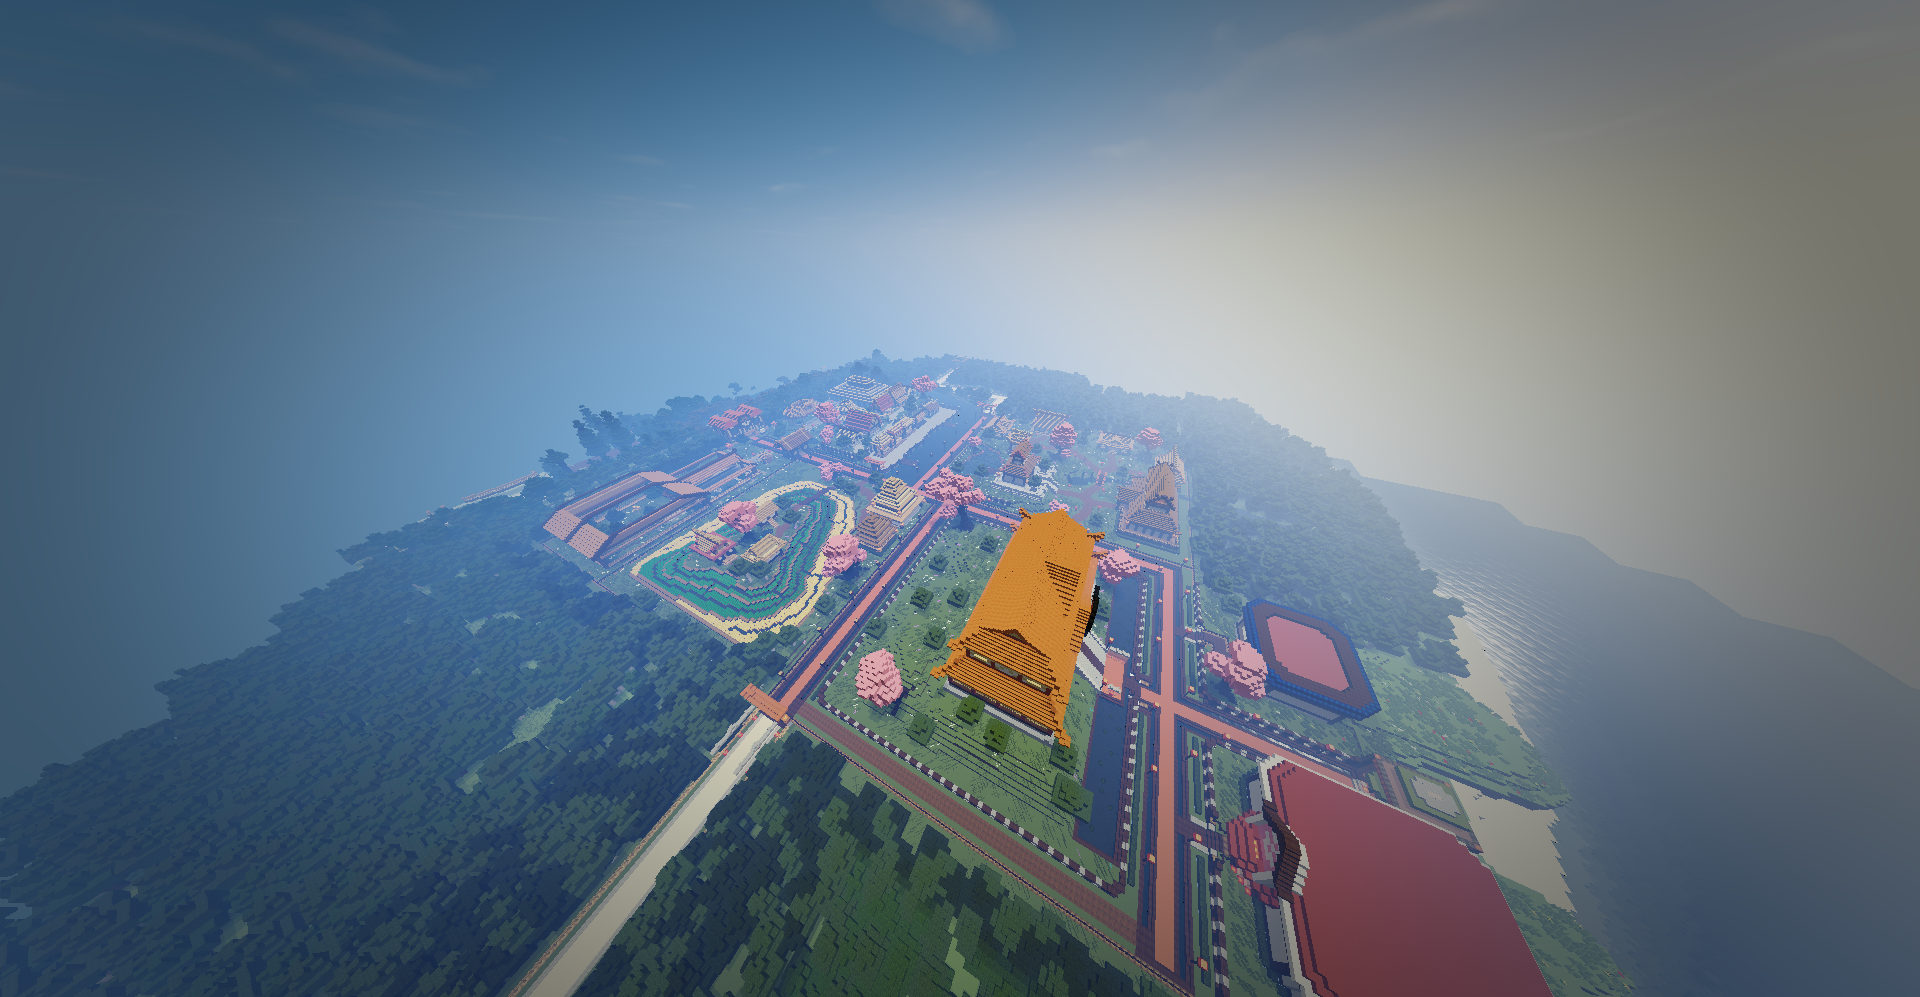
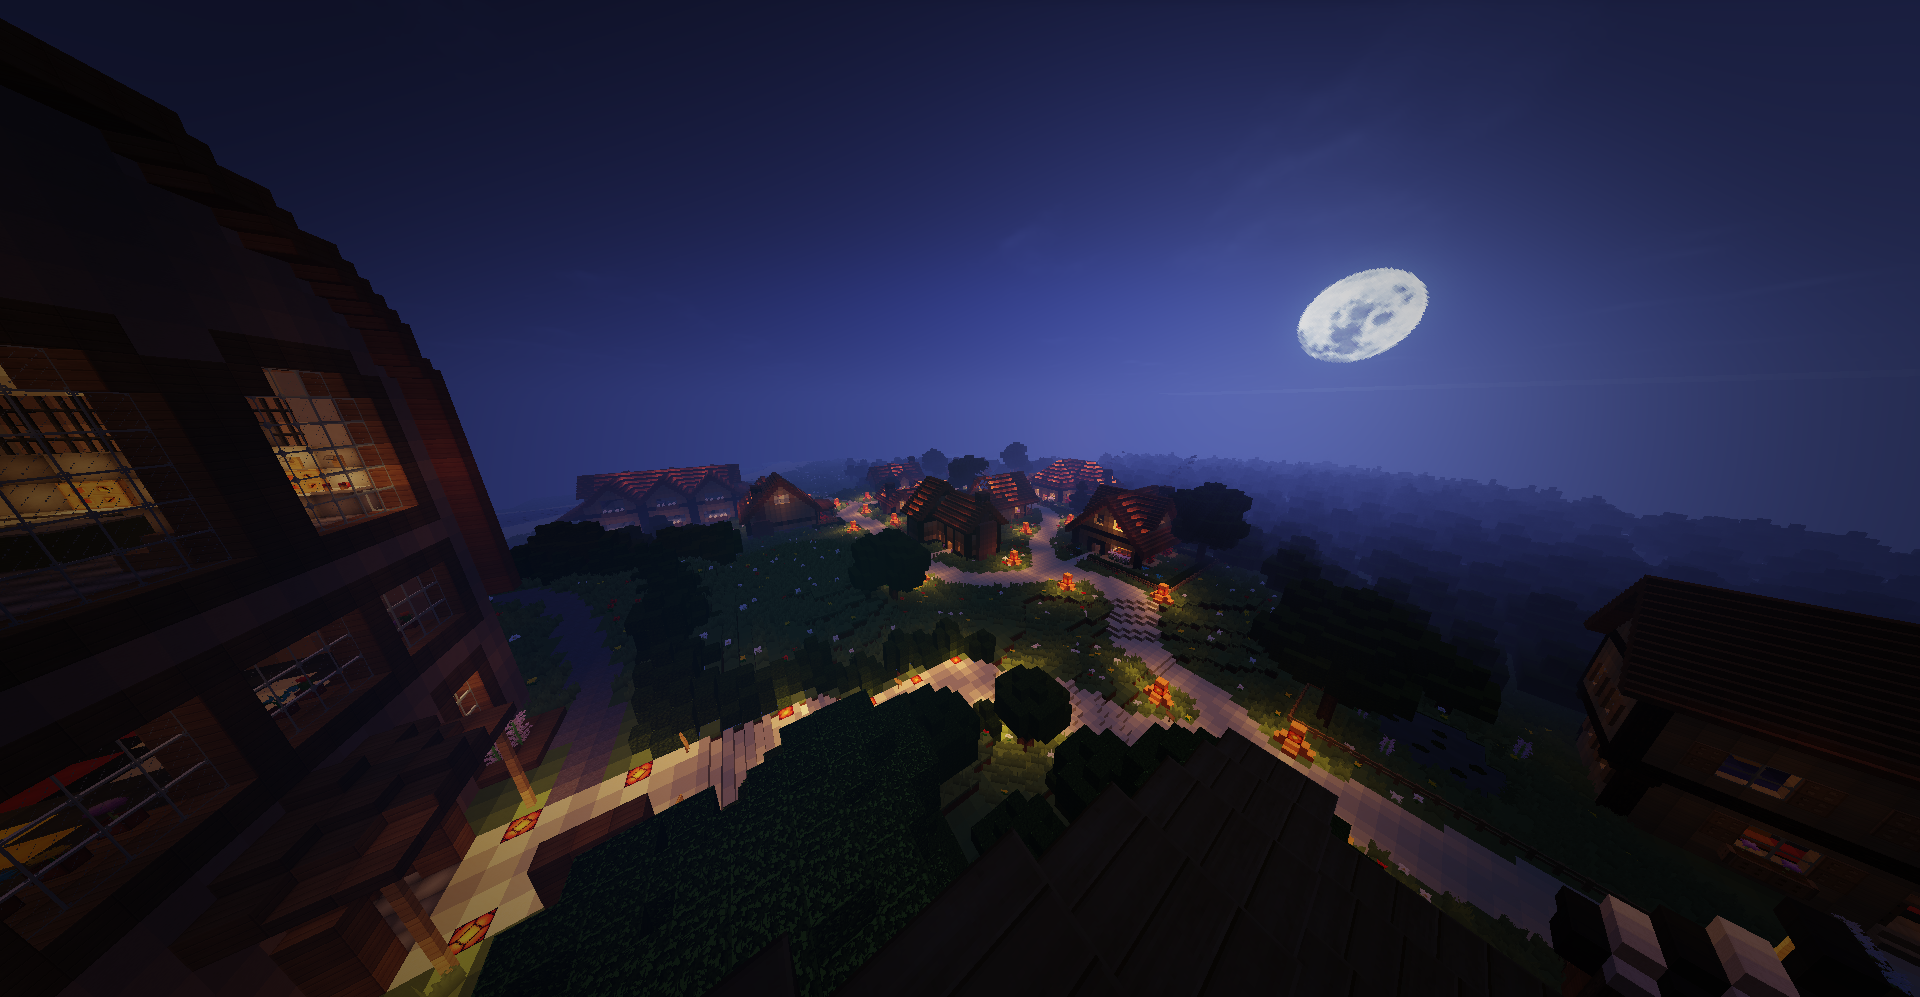
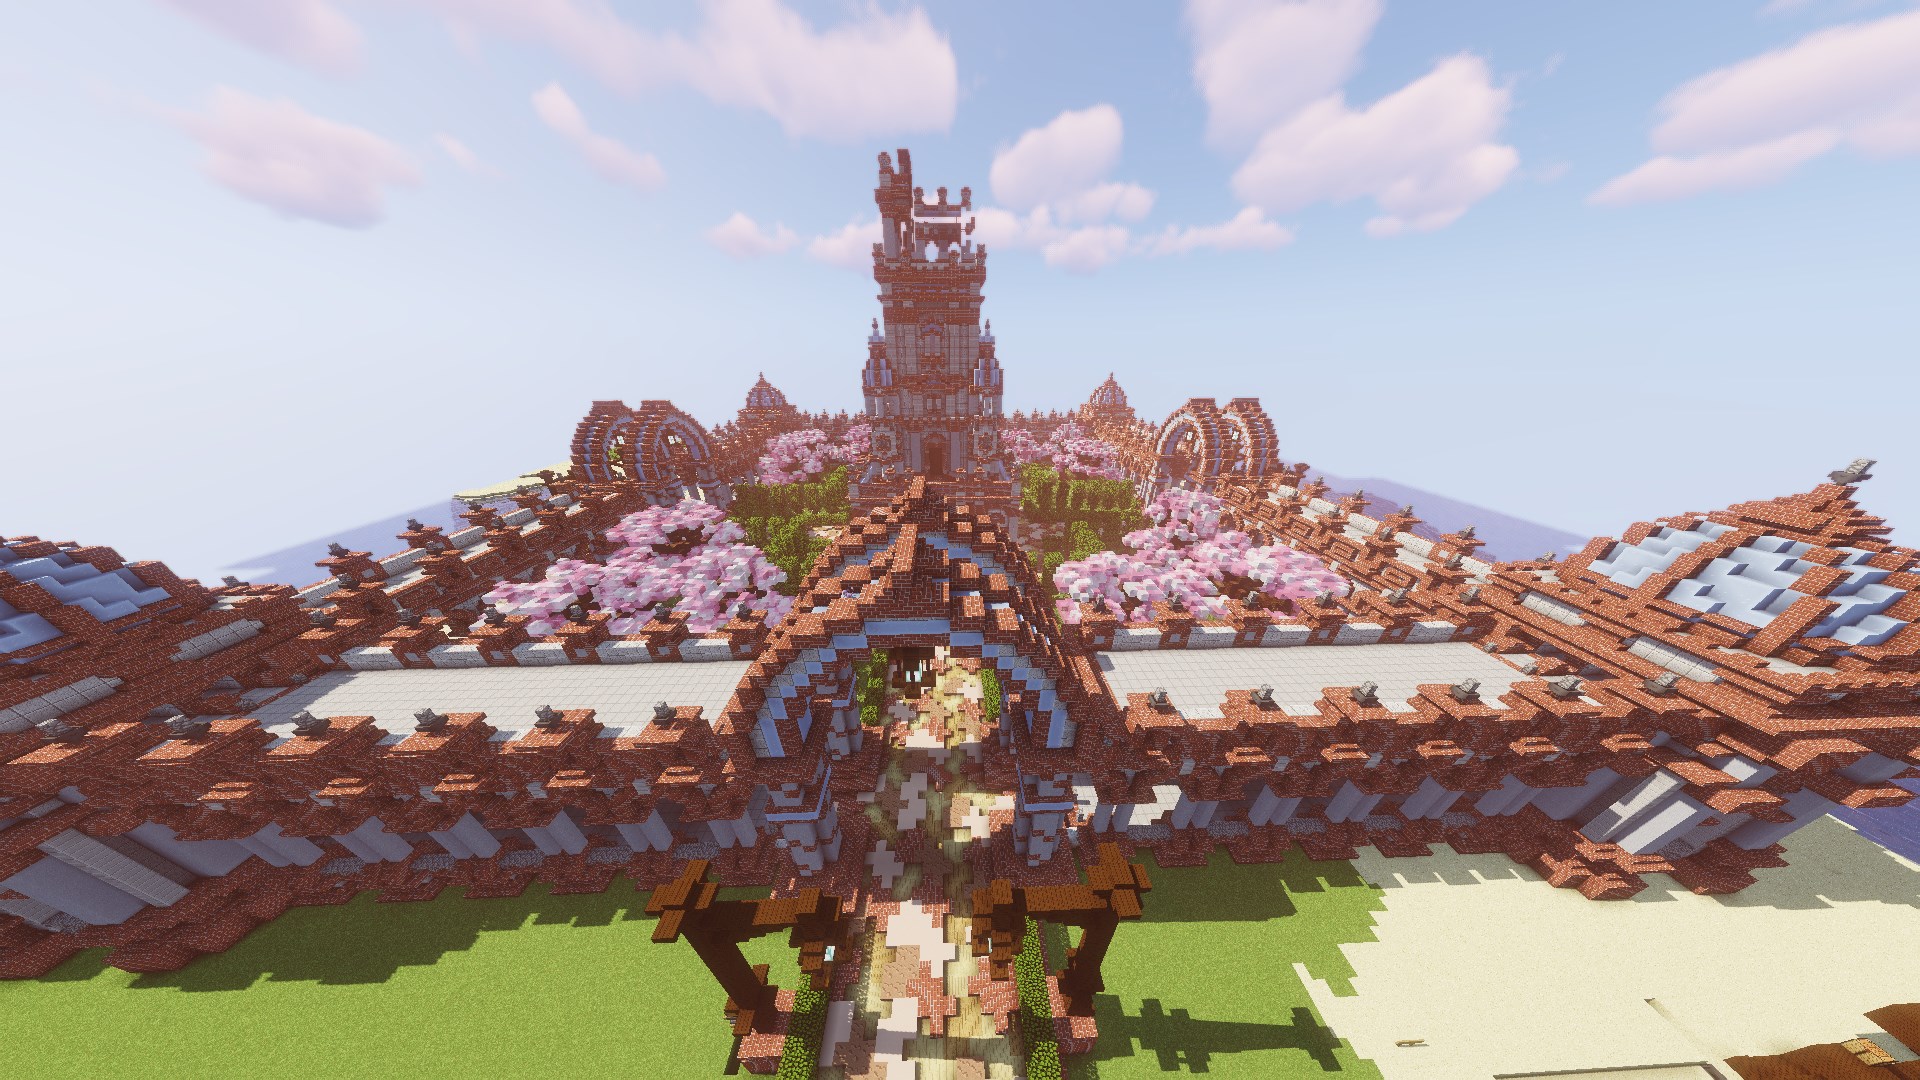
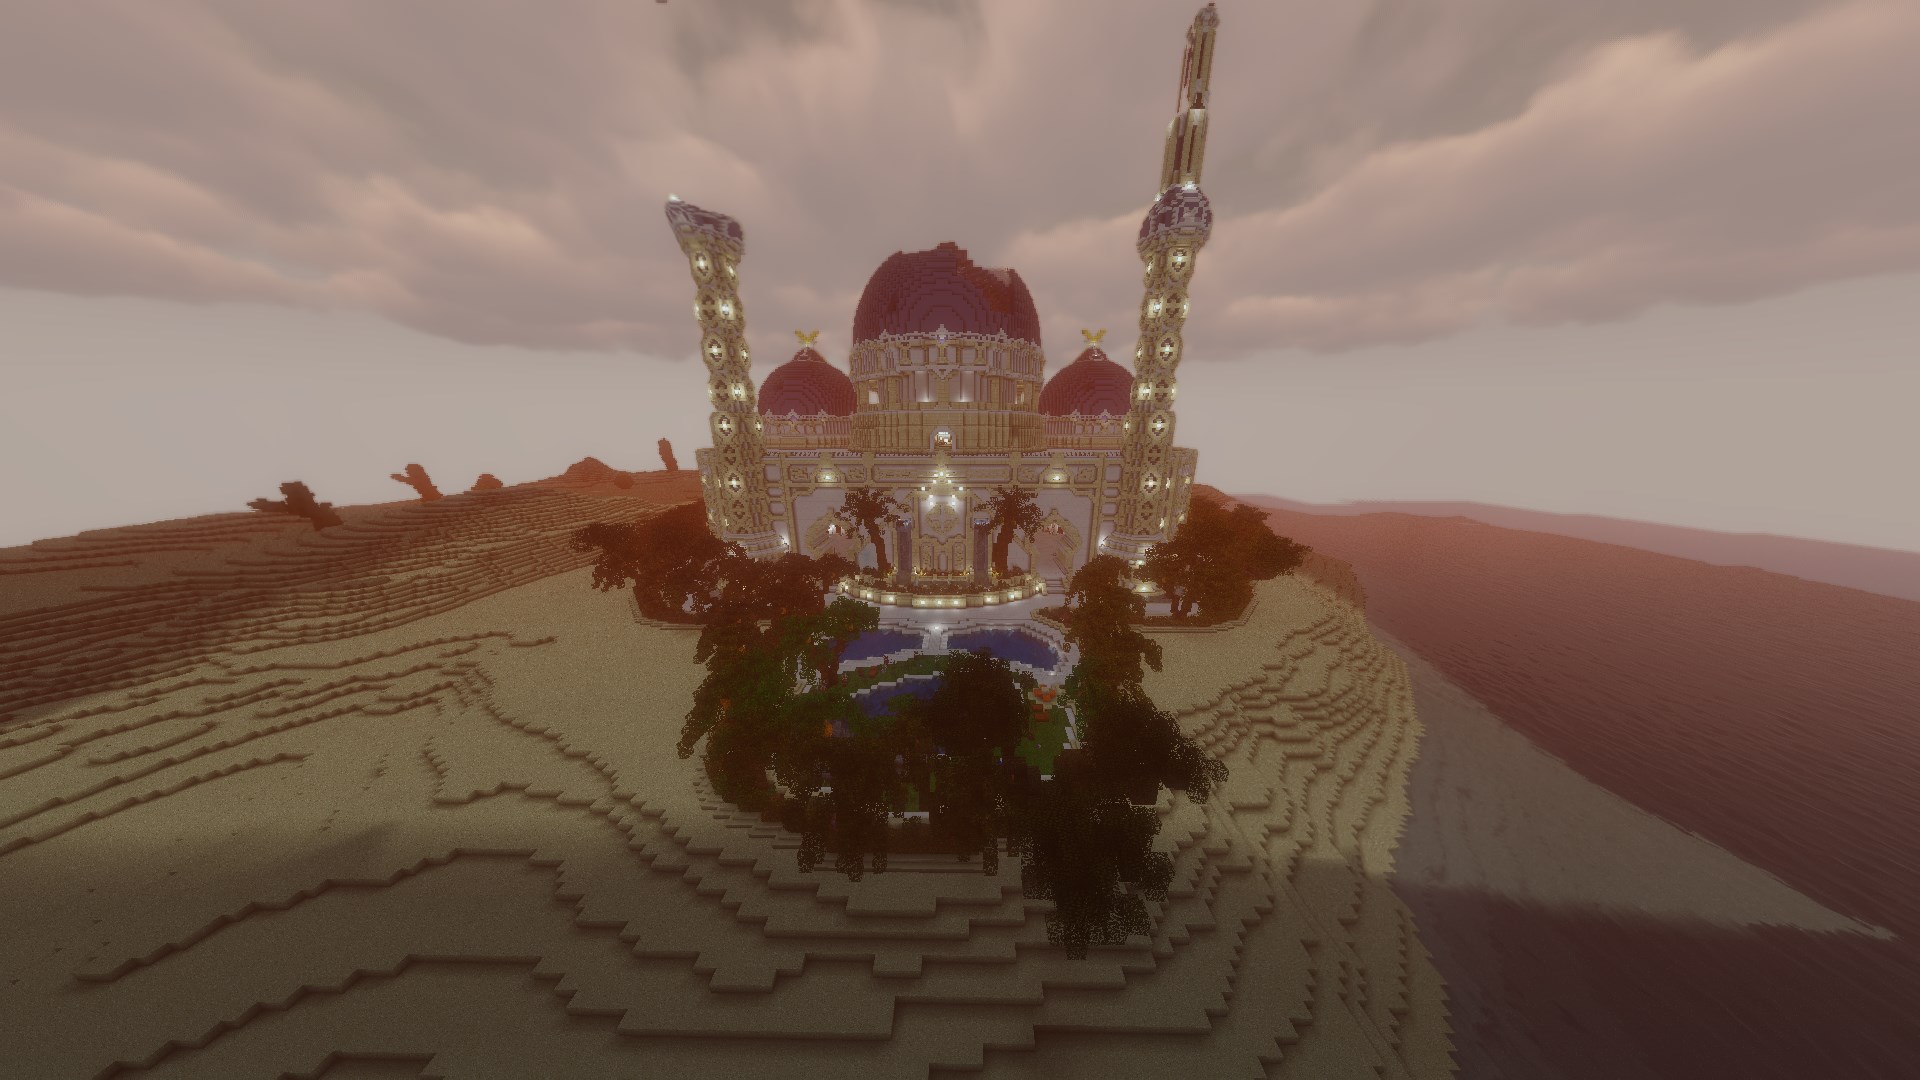
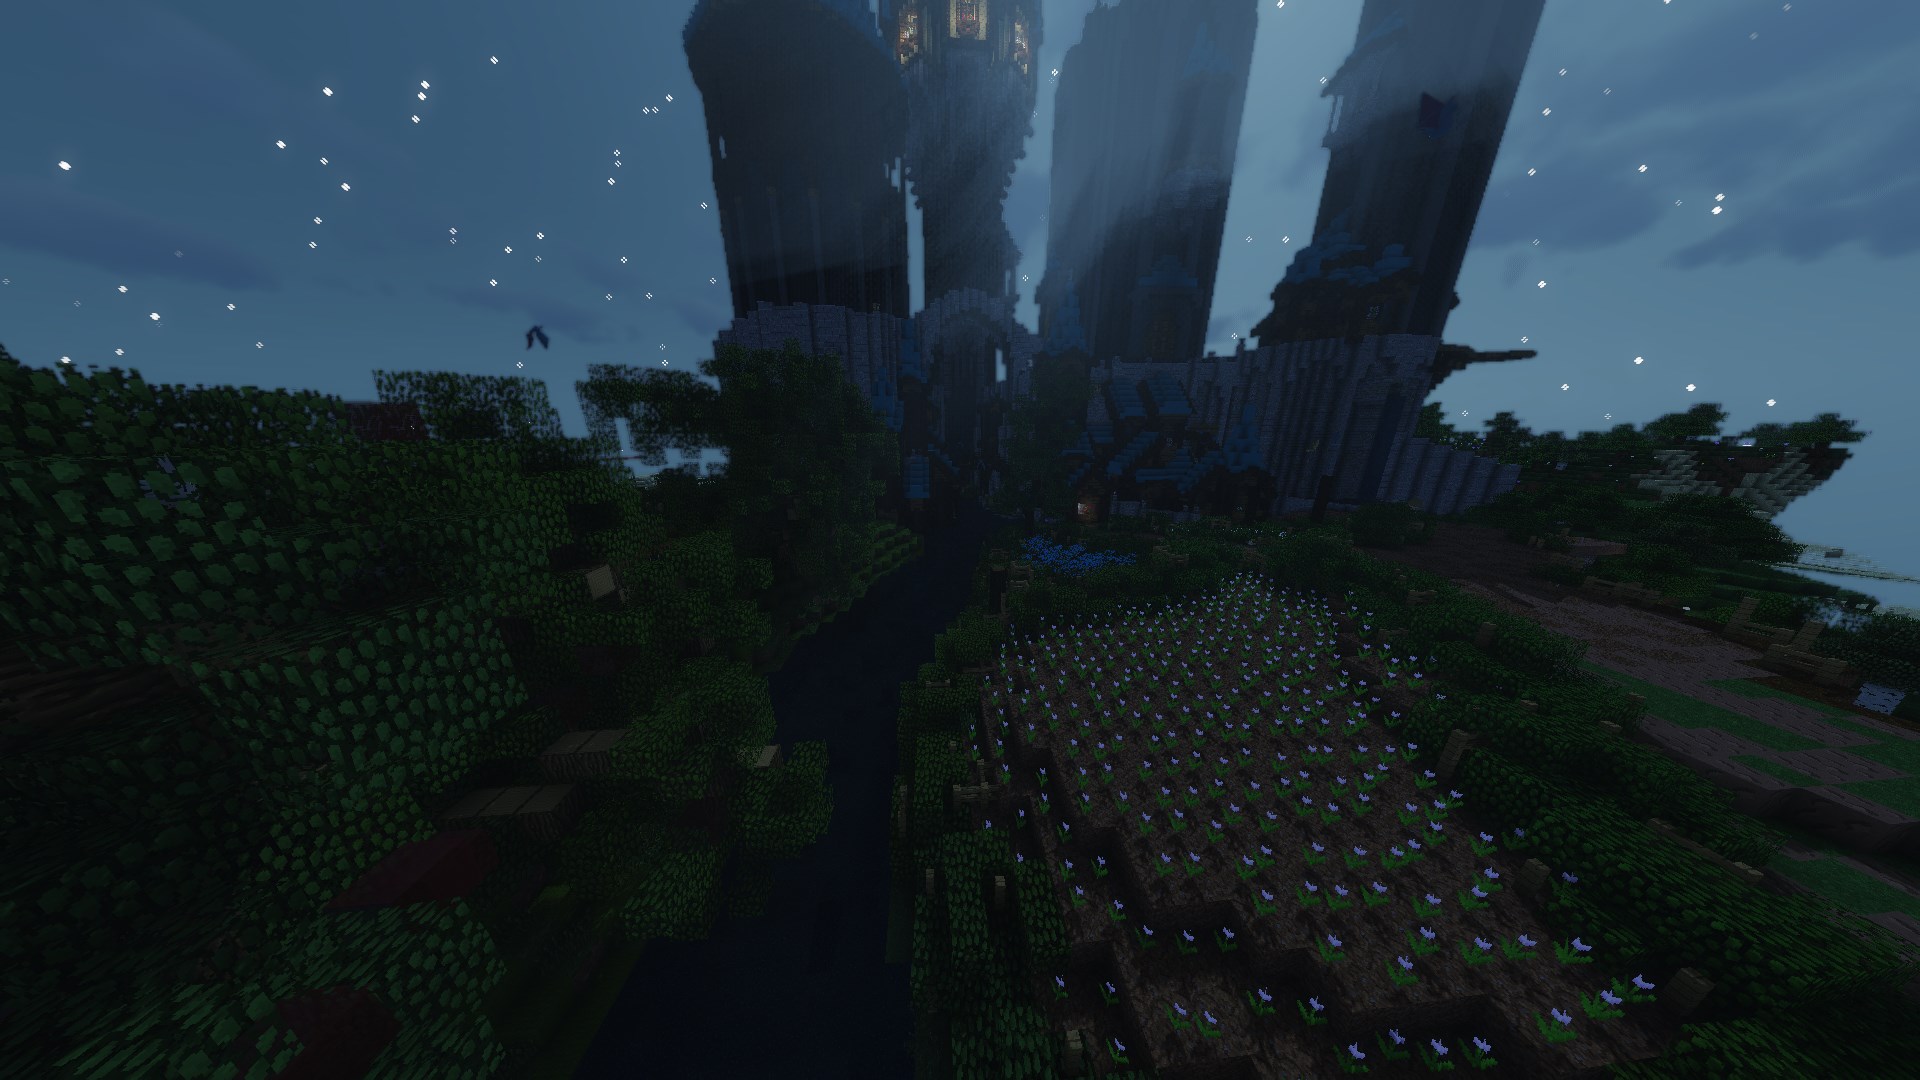
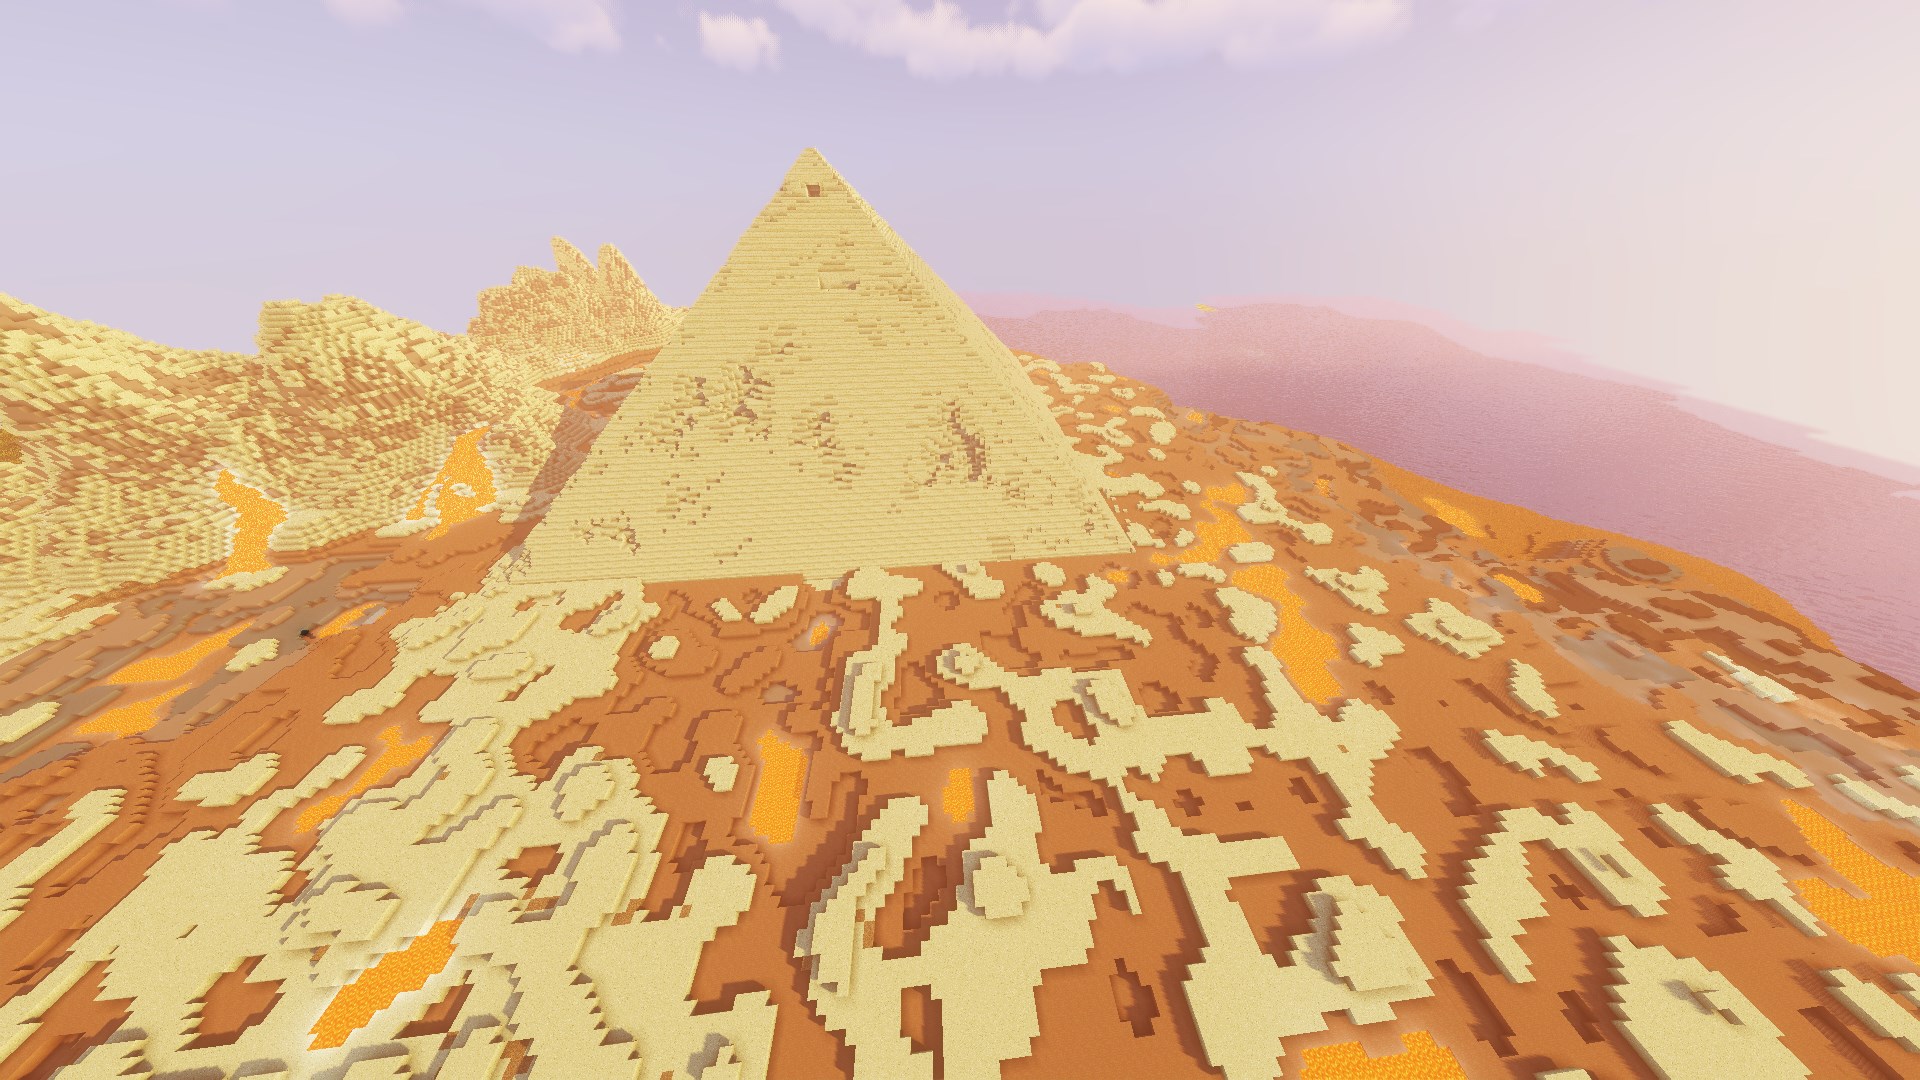
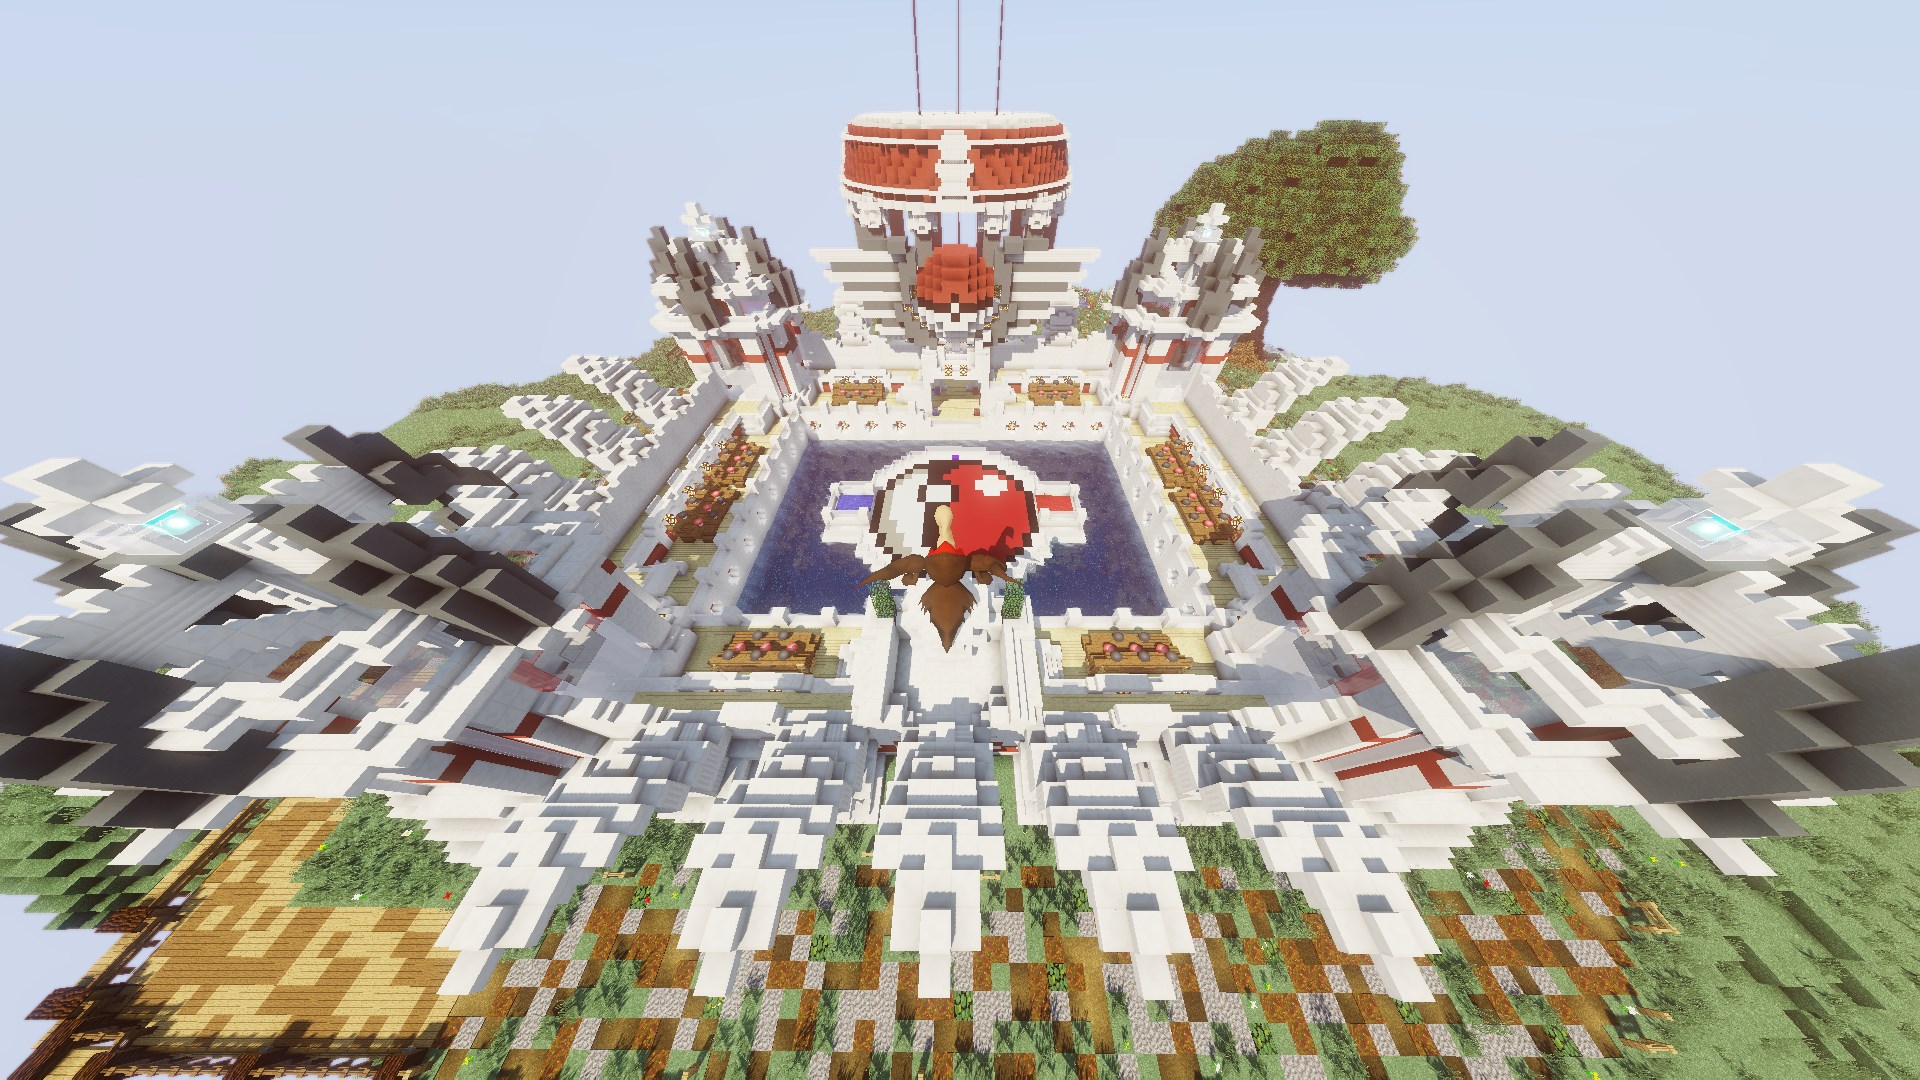
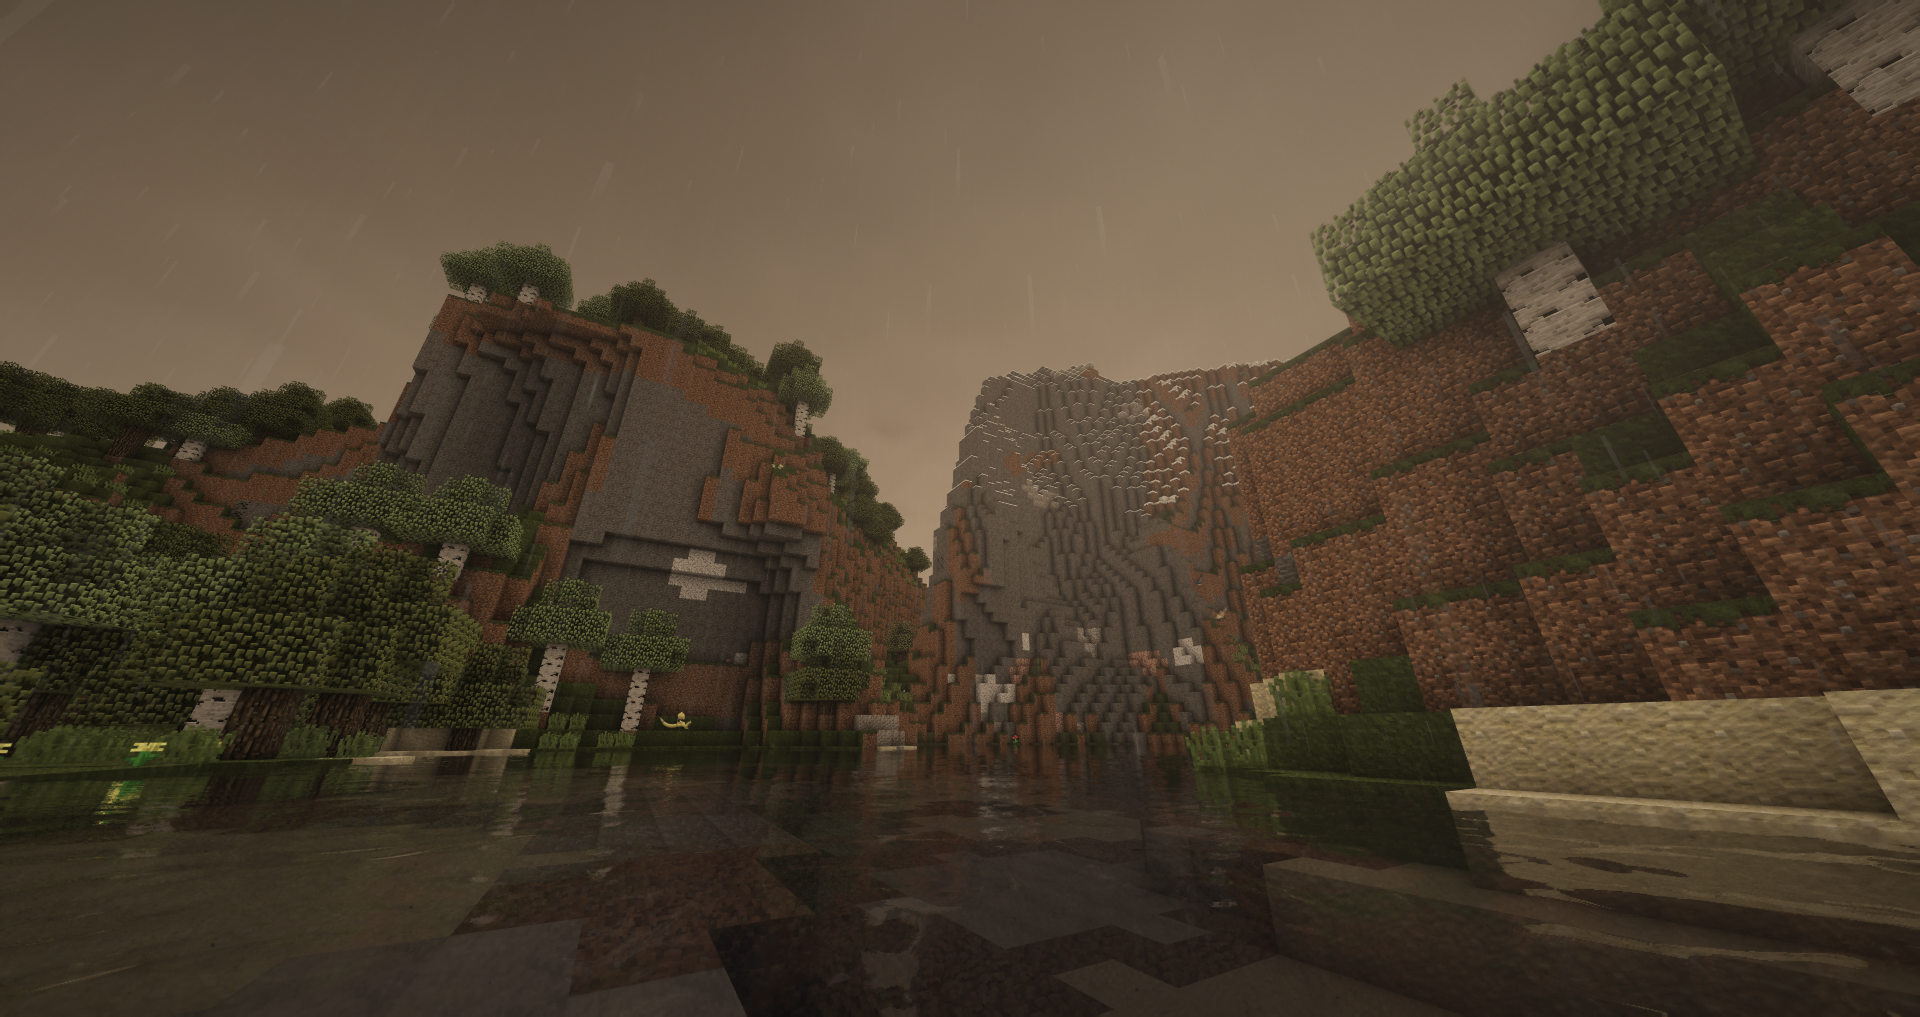
Handmade Maps
You can access both these regions from our server hub or /warps list. Additionally, we have a Nether, Ultra Space, and Resource World that reset on a monthly basis.


Server Features and Plugins
All players have access to:
- RotomPhone - Your own personal robotic assistant for accessing features!
- Our unique Kanto Adventure quest
- Seasonal and starter kits
- Six (6) sethomes
- Pokédex completion rewards
- Reroll system for Pokémon nature, ball, and size
- AquaSkills (RPG-style skills, complete with levels, rewards, and active/passive abilities!)
- AquaGyms (Player-run gyms!)
- Vaults (Vault storage for items)
- Pixelmon Plushies (Statues you can pick up and move!)
- Special custom Pokémon textures as event rewards
- Special custom textured wild Pokémon
- Epsilon Pokémon (Server-unique Regional Pokémon with unique types, abilities, stats, and learnsets!)
- Shadow GX & Light MX Pokémon (Server-unique Pokémon with unique types, abilities, special movesets!)
- Normal starter, plus your choice of a second normal, shiny, or custom textured starter!
- Designated resource worlds
- Battle Maison - Singles & Doubles matches
- Battle Spire
- Battle Subway
- Battle Tower
- Battle School - Learn the basics of competitive Pokémon!
- Server Mall to buy and sell Pixelmon items
- EV Training areas
- Move Tutor and Relearner sites
- Dye shop
Showcase Server IP: showcase.pokemc.com
Join the showcase server to try our our custom features and test out your Pokémon builds!
- Separate from the live server, kept up-to date with data-pack changes and cosmetic updates.
- All permissions available to try out all of our cosmetics.
- Access to the NPC Editor, Pokémon Editor Wand, Chisel and the Poke-Give commands.
Showcase Server available commands:
- /pokegive - With the desired specs, found on the Pixelmon Wiki https://pixelmonmod.com/wiki/Pokémon_spec
- /pokeedit - Edit the Pokémon in your current Party.
- /customwings - Previews the Wings and Tails we currently have through Patreon, the Webstore, and Relic Coin Shop.
- /glow - Shows the available glows, obtainable through Patreon only.
- /pc - Easily acces your PC.
- /pokeheal - Heal your Pokémon.
Disclaimer: Please tidy up after yourselves before exiting the server. No one likes a bunch of random clutter spread out. Keeping it messy might result in tighter restrictions
Patreon

⬍